
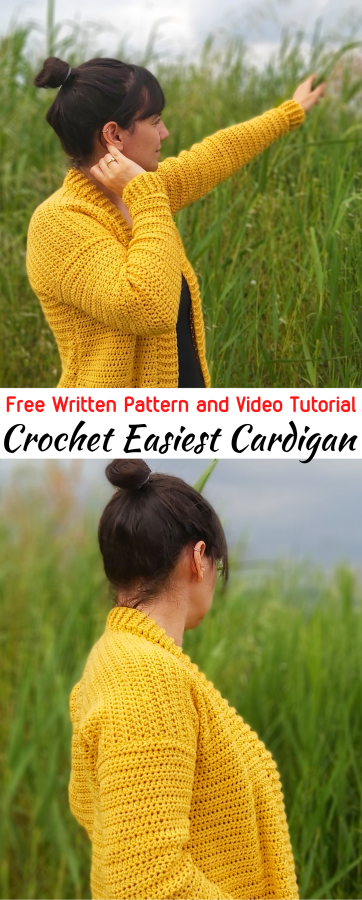
This easiest and simplest crochet cardigan is just for absolute beginners! It’s easily adjustable to any sizes with any size yarn and crochet hook. Don’t miss this out! I hope you enjoy..
- You can purchase the ad-free PDF versions of my patterns on Etsy.
- You can print the PDF’s and use them anywhere you want. This way you can also support my works too.
MATERIALS
Yarn
- Any category 4 (worsted weight) Yarn – used more than 500 gr
5 mm Crochet Hook for the Ribbing
6 mm Crochet Hook for the Body
Stitch Marker
Yarn Needle
Scissors

STITCHES & ABBREVIATIONS
ch = Chain
st(s) = Stitch(es)
sk = Skip
sl st = Slip Stitch
hdc = Half Double Crochet
dc = Double Crochet
fpdc = Front Post Double Crochet
bpdc = Back Post Double Crochet
NOTES:
*Sample is for size M.
*US crochet terms are used in this pattern.
*’2 DC’ means place 2 DC into the same stitch.
*Total stitches are indicated in between < >.
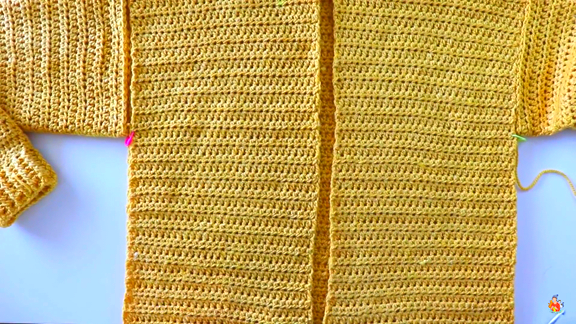
BACK PANEL
ch 60. (for different sizes, just measure around your chest and divide it by 2 and make your chains until that measurement)
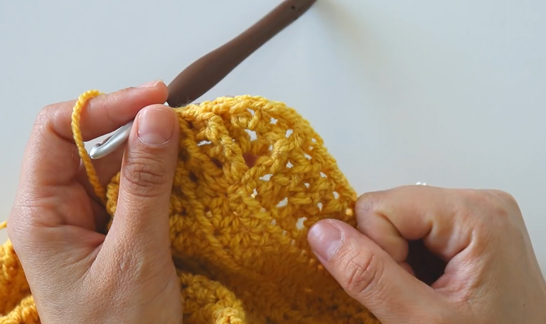
Row 1: hdc in 3rd ch from hook, hdc in each ch until end, turn. <59>
Row 2: ch 1, hdc in each st across, turn. <59>
Rows 3-60: repeat row 2. <59>
**You can make more or less rows to reach your desired length. If you do this, make sure you have the same number of rows for the front panels as well.
Do not fasten off. Proceed directly to first front panel instructions.
FIRST FRONT PANEL
Row 61: ch 1, hdc in each st across, turn. <29>
Rows 62-108: repeat row 61. <29>
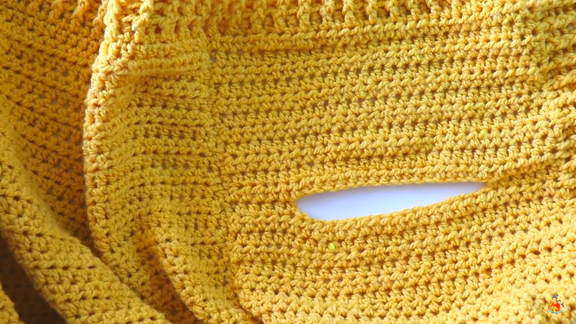
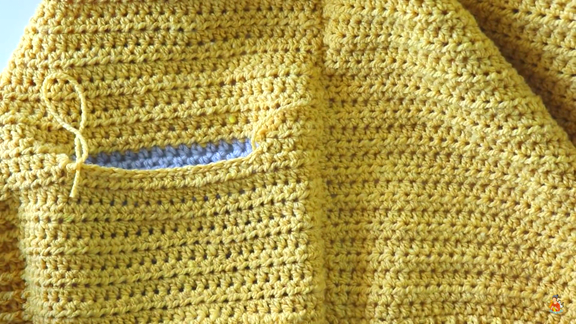
**now, we will make opening for the pocket. if you don’t want to have a pocket just repeat row 61 until you have 120 rows in total.
Row 109: ch 1, hdc in next 6 sts, ch 17, sk 17 sts, hdc in last 6 sts, turn. <29>
Row 110: ch 1, hdc in next 6 sts, hdc in next 17 ch (work in back bumps of chains), hdc in last 6 sts, turn. <29>
Row 111: ch 1, hdc in each st across, turn. <29>
Rows 112-120: repeat row 111.
Fasten off.
SECOND FRONT PANEL
Start by inserting hook into 31st st, secure yarn and pull up a loop. (miss the st with stitch marker)
Repeat first front panel instructions for the second front panel.
**If you have different number of stitches, just be sure that you have the same number of stitches for both panels. If you wish you can miss more stitches for neckline opening. It’s totally up to you.
SLEEVES
Make 2.
Sleeve Ribbing
with 5 mm hook, ch28. (you can make your own measurement by wrapping the chain base around your wrist. be sure that it’s an even number.)
Round 1: join with a sl st into 1st ch, ch 2, work in back bumps of ch base, dc in 1st ch, dc in next 27 ch, join with a sl st into 1st st. <28>
Round 2: ch 2, *fpdc, bpdc, repeat from * until end, join with a sl st. <28>
Rounds 3-6: repeat round 2.
with 6 mm hook,
Rounds 7-16: ch 1, hdc in each st around, join with a sl st, turn. <28>
Round 17: ch 1, *hdc in next 6 sts, 2 hdc in next st*, repeat from * to * 4 times until end, join with a sl st, turn. <32>
Rounds 18-22: ch 1, hdc in each st around, turn. <32>
Round 23: ch 1, *hdc in next 7 sts, 2 hdc in next st*, repeat from * to * 4 times until end, join with a sl st, turn. <36>
Rounds 24-28: ch 1, hdc in each st around, join with a sl st, turn. <36>
Round 29: : ch 1, *hdc in next 8 sts, 2 hdc in next st*, repeat from * to * 4 times until end, join with a sl st, turn. <40>
Rounds 30-34: ch 1, hdc in each st around, join with a sl st, turn. <40>
Round 35: ch 1, *hdc in next 19 sts, 2 hdc in next st*, repeat from * to * 2 times until end, join with a sl st, turn. <42>
Rounds 36-48: ch 1, hdc in each st around, join with a sl st, turn. <42>
Fasten off.
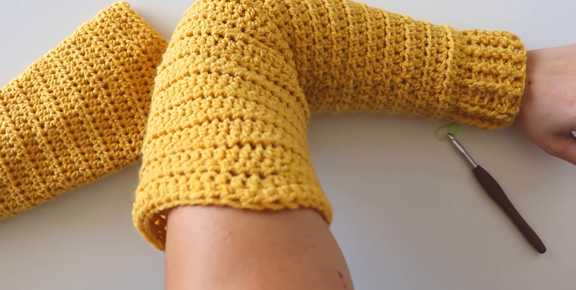
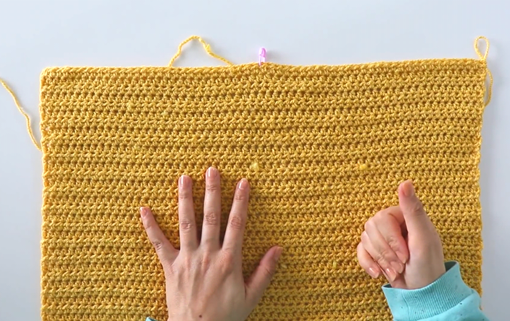
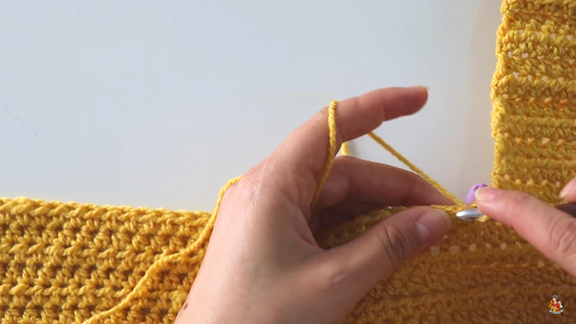
ASSEMBLY
Lay all the pieces together with the wrong sides facing up. Start from bottom of the side and sew up along until armpit and continue around sleeve and finish.
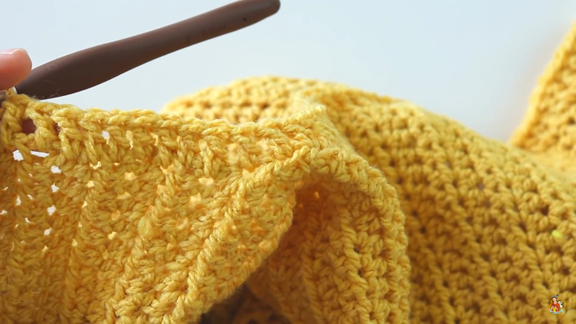
BODY RIBBING
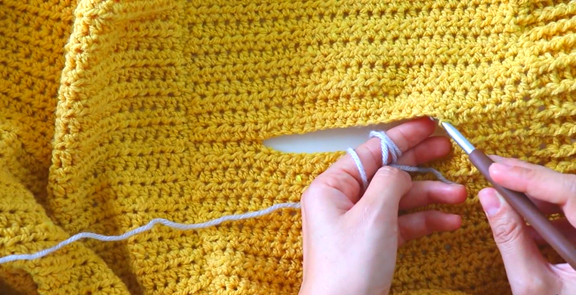
With the right side facing, insert hook into the middle of the bottom of the back panel.
Row 1: ch 2, dc in same st, dc in each st until corner st, (dc, ch1, dc) in corner st. For edges of front panels, place 3 dc for each 2 hdc rows until next bottom corner, (dc, ch1, dc) in corner st, dc in each st until 1st dc, join with a sl st.
**if you think 3 dc is too much for each 2 hdc rows, time to time you can skip 1 or 2. Just make them equally for both front panels.
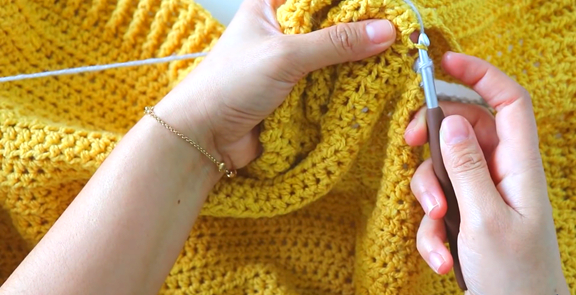
Row 2: ch 2,*fpdc, bpdc, repeat from * until next corner, (hdc, ch1, hdc) in corner. Continue with *fpdc, bpdc* until next corner, (hdc, ch1, hdc) in corner, and *fpdc, bpdc* until end, join with a sl st.
**The row started with fpdc and i want to finish with bpdc. If your last st is fpdc, you can take last two stitches together to make a bpdc or, you can consider the ch 2 of row 1 as a stitch and make your bpdc around it just for once. There is one more option; you can place hdc between last two stitches and make your last st a bpdc. You can use this last option for the corners as well.
Row 3: ch 2, *fpdc, bpdc, repeat from * until corner, bpdc around 1st hdc of previous row, (hdc, ch1, hdc) in corner, bpdc around 2nd hdc of previous row. Continue until end, join with a sl st.
Rows 4-6: repeat row 3.
Fasten off.
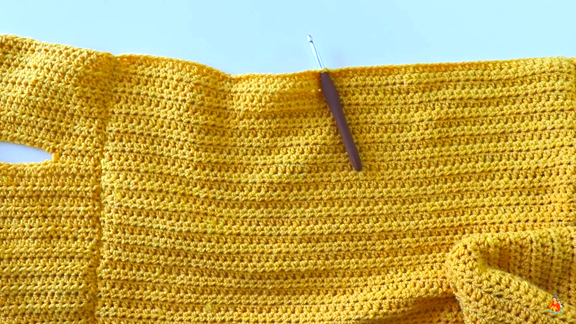


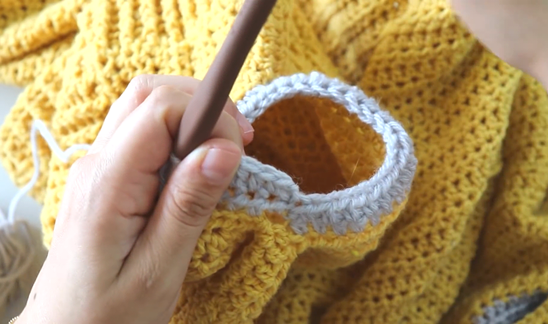
POCKETS
With the right side facing and upside down, insert hook into the 6th st of row 109.
Row 1: ch 1, hdc in next 17 sts of row 108, join with a sl st into 24th st of row 109, turn. <17>
Row 2: ch 1, hdc in next 17 sts, continue to work on other side of pocket opening, work in front loops of chains you made in row 109, flo hdc in next 17 sts, join with a sl st into 1st st, turn. <34>
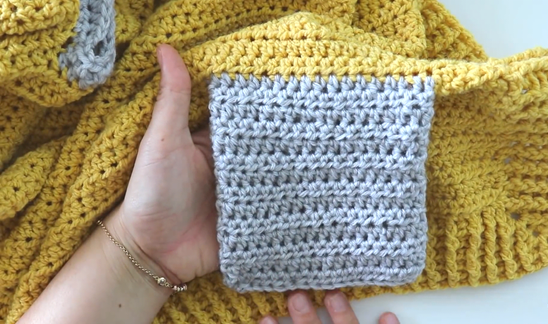
Row 3: ch 1, hdc in each st around, join with a sl st into 1st st, turn. <34>
Rows 4-15: repeat row 3.
To close it, ch 1 and sl st together both ends all the way along. Fasten off.
**Optional: you can make sl sts front side of your pocket to give it a nice look.
Weave in all your ends. And your cardigan is ready!
Pattern created by Sirin’s Crochet
Written by Ece Bektas (@ecelibuculu)
Copyright: This pattern is copyrighted by Sirin’s Crochet and may not be copied, sold, distributed and claimed as yours. You are more than welcomed to share and sell your makes using this pattern. Please give credit to Sirin’s Crochet.
Please feel free to visit my Youtube channel at Sirin’s Crochet for more free video tutorials and don’t forget to subscribe to be notified for more free patterns.
- Video Tutorial :