As you know, I really like to make baby blankets. They can be created as gifts and are also great for donating to hospitals and charities. Most of these crochet blanket models also work as lapghans, so you can give them to retirement homes, not just babies.
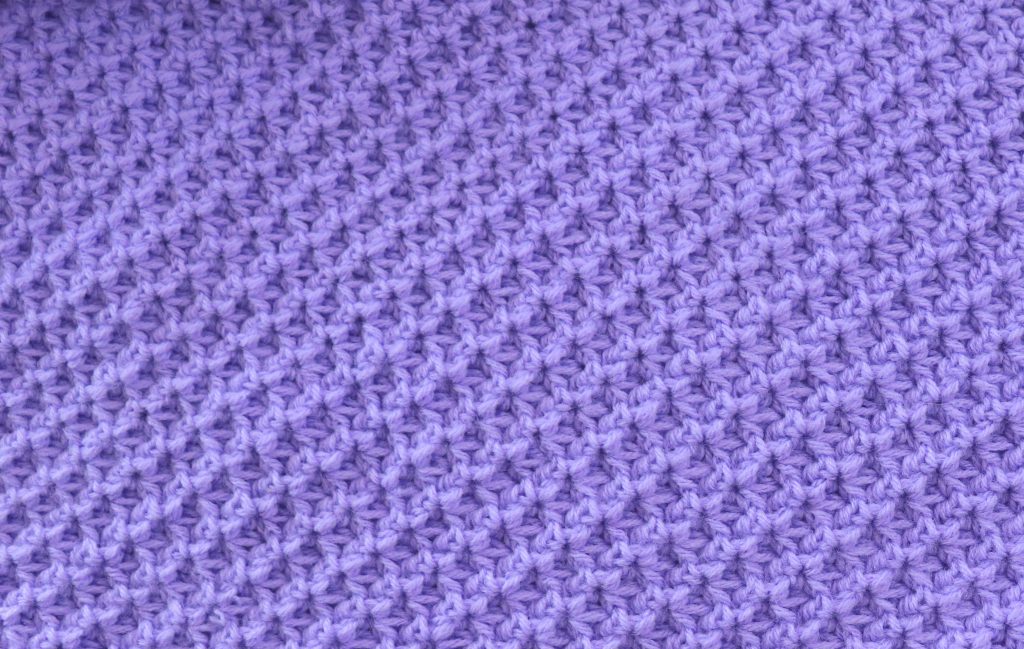
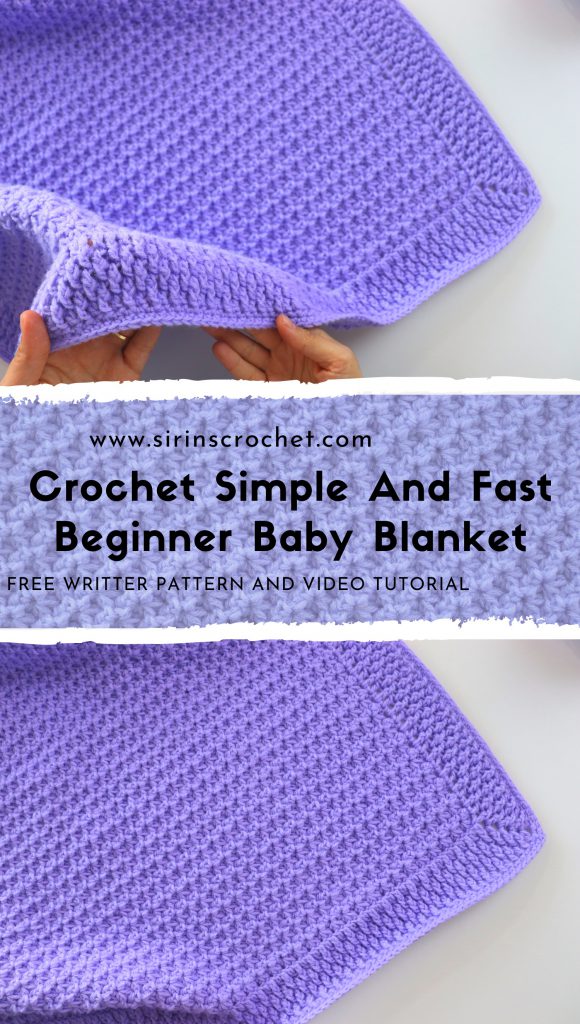
That’s really simple and fast crochet blanket. Even a total beginner can make it easily. I used Trinity stitch for the blanket and Alpine stitch for the border. Both of them is just one row repeat.
Video tutorial also can help you. I would like to see and share your finished projects. Please don’t forget to tag me at instagram ( @sirinscrochet).
- You can purchase the ad-free PDF versions of my patterns on Etsy.
- You can print the PDF’s and use them anywhere you want. This way you can also support my works too.
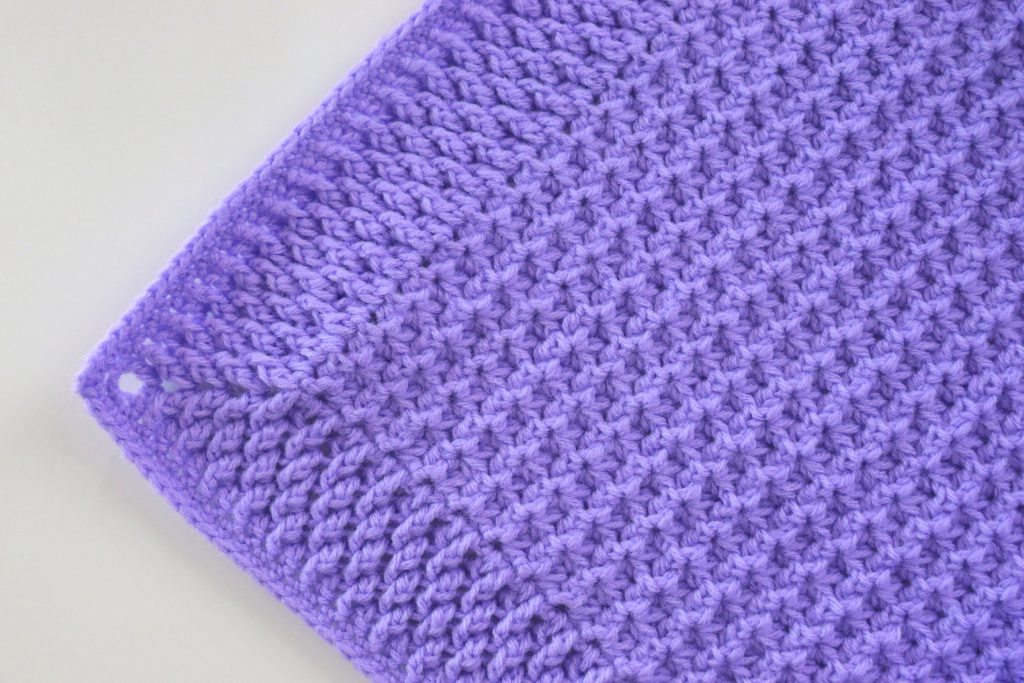
Materials
Size 4 yarn 800m
6mm and 6.5mm hook
Tapestry Needle
Stitches used
Chain: ch
Double crochet: dc
Front post double crochet: fpdc
Single crochet: sc
Space: sp
Yarn over: yo
Notes
When you see *( )** it means you repeat the instructions in between *( ) **. Where you see the word turn it means to turn your work clockwise and work back down the row.
This pattern is done in multiples of 2. Starting with 6.5mm hook
Row 1. Ch90 and turn, sc in second ch from hook. Insert hook into the same sp as sc st and pull up a loop, pull up a loop from the next 2 sts, now you should have 4 loops on your hook, yo and pull through all loops on your hook, ch1 to close. (insert hook into same sp and pull up a loop, pull up a loop from the next 2 sts, yo and pull through all loops on hook ch1 to close)* repeat across, on the last one don’t close with ch1 do a sc into the last st.
Row 2. Ch1 and turn, 1sc into first st, (insert hook into same sp and pull up a loop, pull up a loop from the next 2 sts, yo and pull through all loops on hook ch1 to close)* repeat across, on the last one don’t close with ch1 do a sc into the last st.
Repeat row 2 to desired length
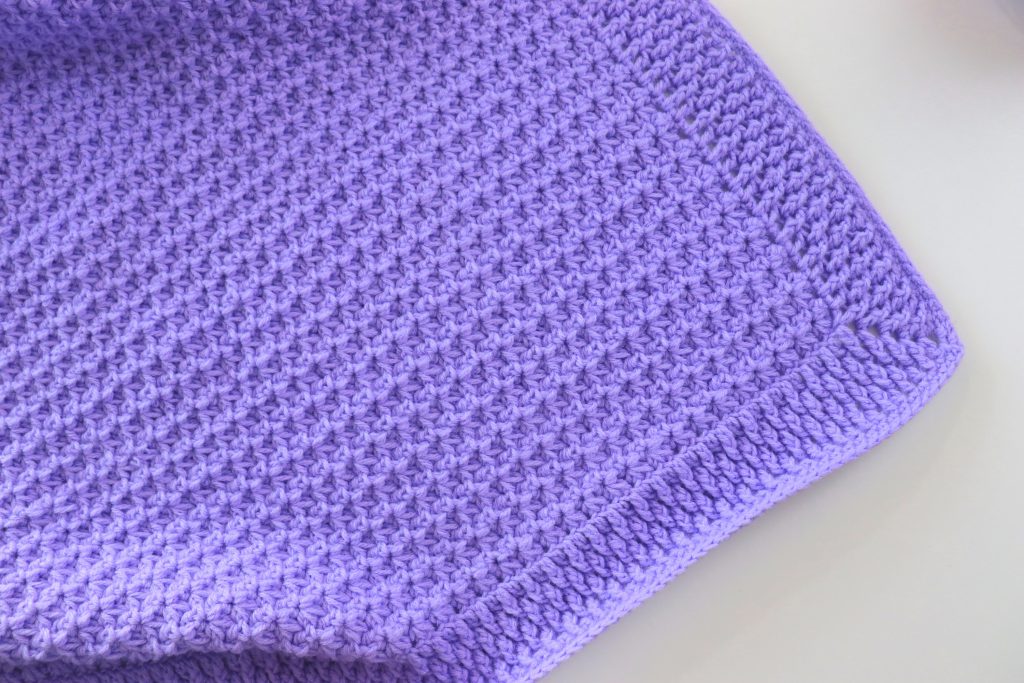
Border
Change to 6mm hook.
Round 1.
First side: Ch3 and turn, do 1dc, in each st across. For the corner ch2 and do 1dc, into same sp as last dc. Second side: 1dc for each row. For the corner ch2 and do 1dc, into same sp as last dc.Third side: 1dc, in every ch across. For the corner ch2 and do 1dc, into same sp as last dc.Fourth side: 1dc, for every row. For the corner ch1 and join with a sc into the top of ch3.
Round 2. Ch3, 1fpdc around the first dc, 1dc into the next st. ( 1fpdc around the next st, 1dc into the next st)* repeat around and into the next 3 corners do 1dc,ch2,1dc. For the last corner do 1dc,ch1 and join with sc into top of ch3.
Repeat round 2 three more times.
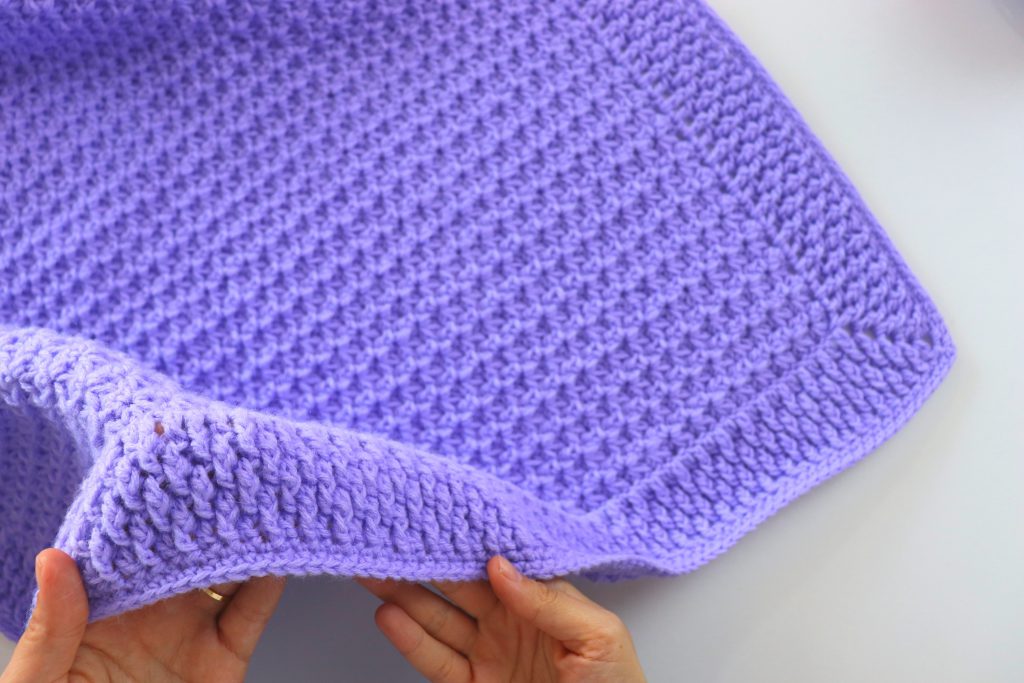
If your edge curls up you can steam it with an iron but never touch the iron to your piece.
Or you can do 2 rounds of sc. sc into every st and into the corners do 1sc,ch2,1sc into the last corner of the first round do 1sc,ch1 and join with a sc. for the last corner on the second round do 1sc,ch2 and ss into the first st.
Pattern created by Sirin’s Crochet
Written by Rachel Websdale (rachelweb31)
Copyright; This pattern is copyrighted by Sirin’s Crochet and may not be copied, sold, distributed and claimed as yours. You are more than welcome to share and sell your makes using this pattern. Please give credit to Sirin’s Crochet.
Please feel free to visit my YouTube channel at Sirin’s crochet for more free video tutorials and don’t forget to subscribe to be notified for more free patterns.
I will be more than happy to answer any questions or concerns you might have regarding this pattern Connect with me:
Hotmail; orgucusirin@hotmail.com
Instagram; https://www.instagram.com/sirinscrochet
Facebook; https://www.facebook.com/sirinscrochet
- Video Tutorial :

Please help, I made your baby blanket, it is beautiful but I messed up can you help me fix it please. A row is sagging really bad in the middle.
Hi. Did you make a different row?
Hi Sirin, do you use American terms for your patterns.
Yes Angela, I am using American terms.
I love your blanket patterns, they are so simple yet so very elegant. Thank you for sharing with us!!!
Thank you ♥
It is so kind of you to offer free patterns. May I ask what is the completed size of this blanket. Thanks Evelyn. Please reply to evsky@cogeco.ca
Just stumbled across your videos and website. I am so excited to get started on this one! The video is great, and being able to check out the written pattern is helpful, thank you!
To Evelyn’s question above: check out the video, 2:00 minutes in Sirin talks about the size of the blanket.
Thank you Kayla ♥ You are so sweet.
What is the multiple for the foundation chain in the event that I want to make a larger version of this blanket? Thanks in advance.
Hello, I’d like to use the border stich for the entire blanket. Do you have a written pattern for this stitch starting from scratch? Thank you
Yes Barbara. It’s Alpine or Raindrop stitch. You can find the tutorial on my channel ♥
I’m doing something wrong. but im not sure what. My stitch count is correct for the first row, but i end up with an extra stitch on the second row. I’ve watched the video and I believe I’m starting the second row in the correct stitch (the sc from the previous row), but i’m off by one stitch. Any suggestions?
The comment I left on another pattern was really regarding this pattern. If I want to make the blanket bigger than 29 inches, how would I go about this and keeping it squared and also not running out of yarn of the 1020 yds.
Hi, Sirin:
I loved your video and decided to make the blanket for my new grandson due this December!. However, he’s supposed to be a very big baby, so I am doubling the pattern – so he can use the blanket for a long time. Also, I love your beautiful cats!
Hi, I stumbled on your beautiful blanket and decided to try making it. I have now finished it but had a question on the border. Do you cut your yarn when you finish the blanket before you start the border? And with the “tail” where you began the blanket on the left side, where do you begin to make the border? Thanks so much.
Beautiful work and patterns. I think the finished size should be in the written directions. Also printing the pattern would be much easier with a print friendly button. Great patterns and photography! Thank you.