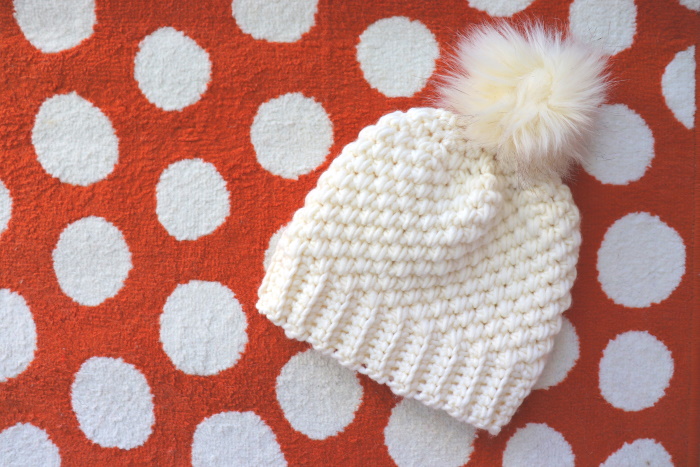
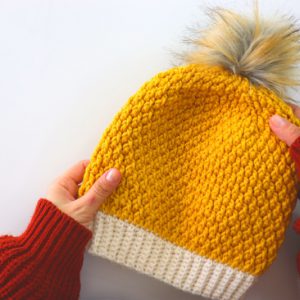
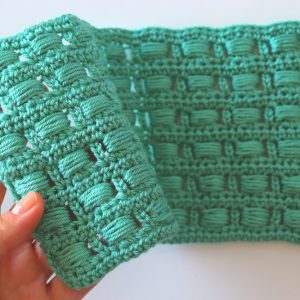
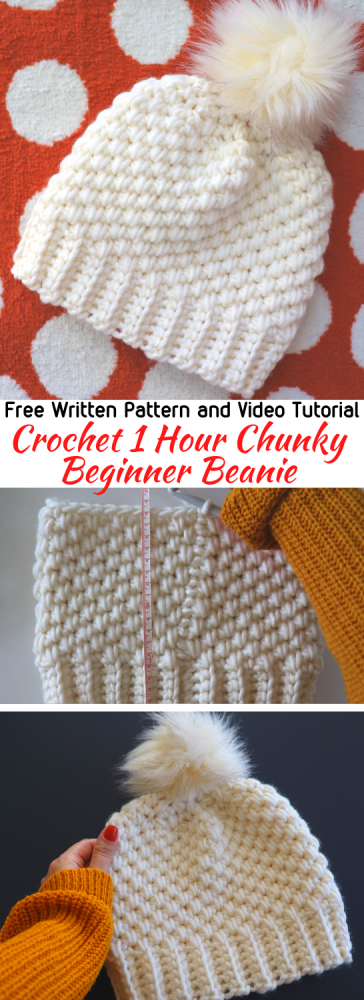
You are gonna give a modern look to your beanie by using alternating spike stitch technique. This stitch has a very beautiful texture! And, it’s pretty easy to follow the pattern and fast to make. You will love this fitted chunky beanie!
- You can purchase the ad-free PDF versions of my patterns on Etsy.
- You can print the PDF’s and use them anywhere you want. This way you can also support my works too.
MATERIALS
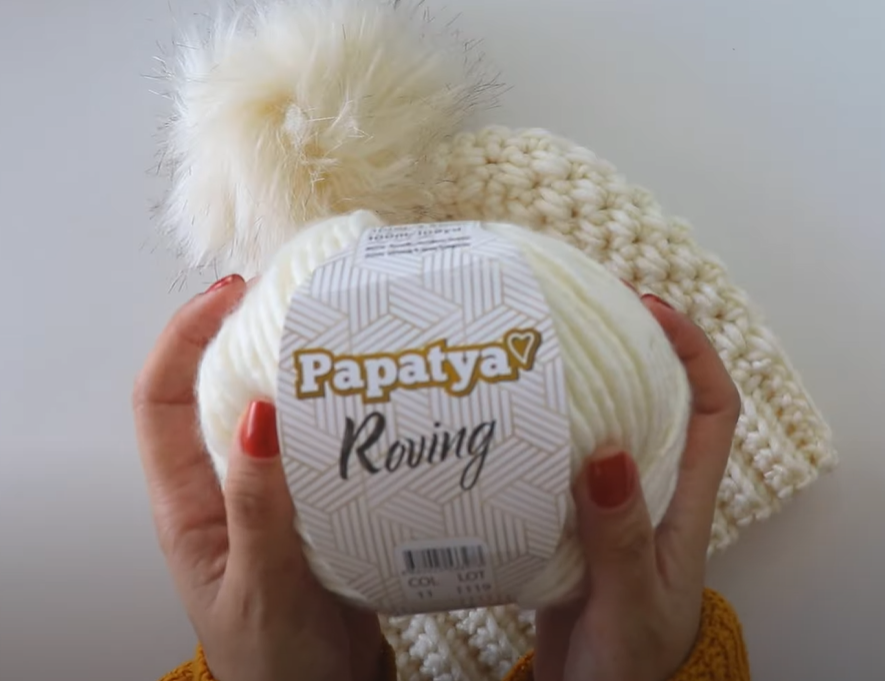
Yarn – 1 Skein of Papatya Roving (color 11, category 5)
7 mm and 8 mm Crochet Hooks
Yarn Needle
Scissors
STITCHES & ABBREVIATIONS
ch = Chain
st(s) = Stitch(es)
blo = Back Loop Only
sl st = Slip Stitch
sc = Single Crochet
sc2tog = Single Crochet 2 Together
spike = Spike Stitch
- 1 single crochet below in the base of the next single crochet. This way will make your stitches elongated. Try not to make it so tight.
NOTES:
*Sample is for woman size.
*US crochet terms are used in this pattern.
*Total stitches are indicated in between < >.
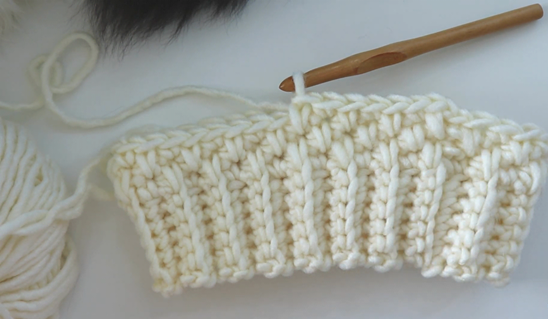
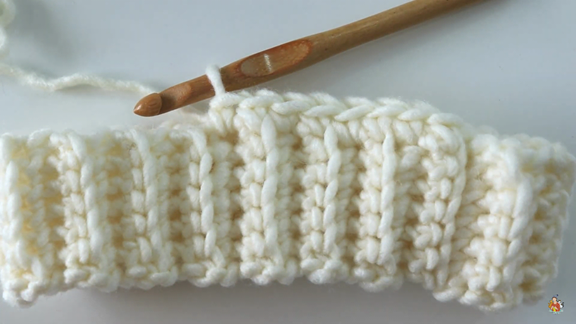
Ribbing
with 7 mm hook
Foundation: ch 7.
Row 1: working in back bumps of the chain base, sc in 2nd ch from hook, and sc across, turn. <6>
Row 2: ch 1, sc in the blo across, turn. <6>
Rows 3-40: repeat row 2.
if you want to make it shorter or longer, just be sure that you have an even number of rows at the end.
When you finish the ribbed band, fold it in half so that foundation and last row are on top of on another. Drop the working loop and insert hook to the first st of foundation row and pull through the loop in it, join them together and ch 1. Working through the both loops of foundation row and back loop of the last row, seam the two rows together by slip stitching across. Do not cut the yarn. Turn your work. Continue on to work in rounds along the edge of ribbed band.
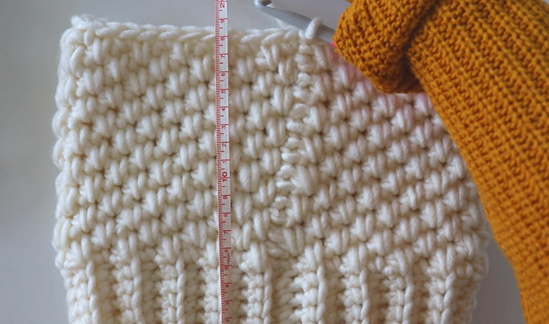
**note: the pattern is created by alternating spike stitch. you need to place a spike stitch where you see a single crochet and a single crochet where you see a spike stitch.
change hook to 8 mm
Round 1: ch 1, sc around the top of the ribbing working one stitch per row, join with a sl st to first sc of the round. <40>
Round 2: ch 1, *spike, sc, repeat from * around, join with a sl st.
Round 3: ch 1, *sc, spike, repeat from * around, join with a sl st.
Rounds 4-15: repeat rows 2 and 3.
Round 16: ch 1, *sc2tog, spike, sc2tog, sc, repeat this sequence from * around. At the end, if you don’t have enough sts to decrease, place sc if your coming st from previous row is a spike or vice versa. Join with a sl st.
Round 17: ch 1, *sc2tog, sc, sc2tog, spike, repeat this sequence from * around, join with a sl st.
Round 18: ch 1, *spike, sc2tog, repeat from * around, join with a sl st.
Round 19: ch 1, sc2tog around, ch 1, cut off.
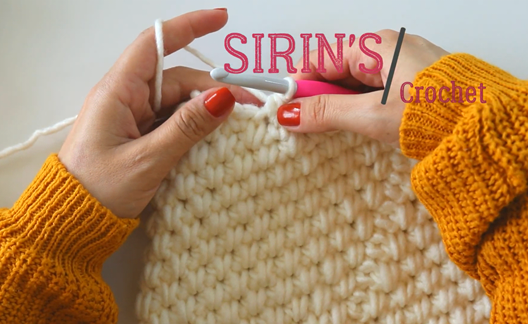
Tie off leaving a bit long tail of yarn. Using a yarn needle, weave the yarn around the stitches of last round. Pull tight to cinch the top of the hat closed. Secure the yarn. You can make and attach a pom pom if you like.
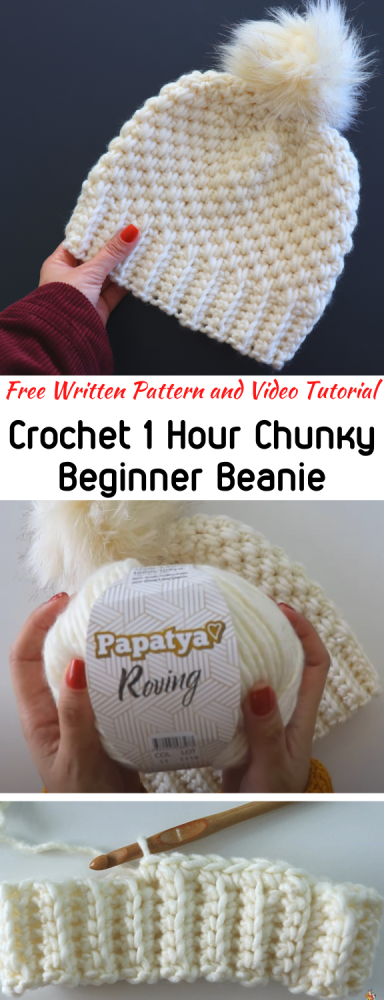
Pattern created by Sirin’s Crochet
Written by Ece Bektas (@ecelibuculu)
Copyright: This pattern is copyrighted by Sirin’s Crochet and may not be copied, sold, distributed and claimed as yours. You are more than welcomed to share and sell your makes using this pattern. Please give credit to Sirin’s Crochet.
Please feel free to visit my Youtube channel at Sirin’s Crochet for more free video tutorials and don’t forget to subscribe to be notified for more free patterns.
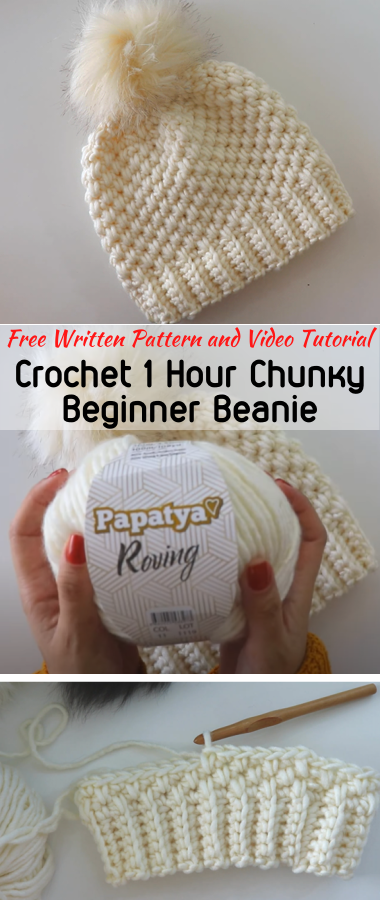
- Video Tutorial :
