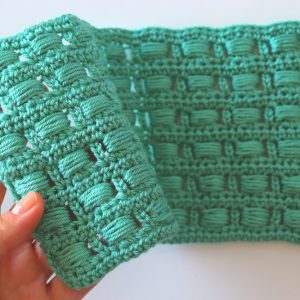
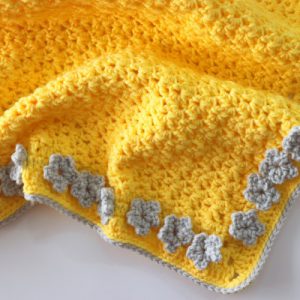
I really love to make baby stuf. They are so easy to make and looks lovely ♥ So although my daughter has already grown up, I often make baby clothes expecially crochet baby dress. Also baby stuffs would be very nice gift as well.
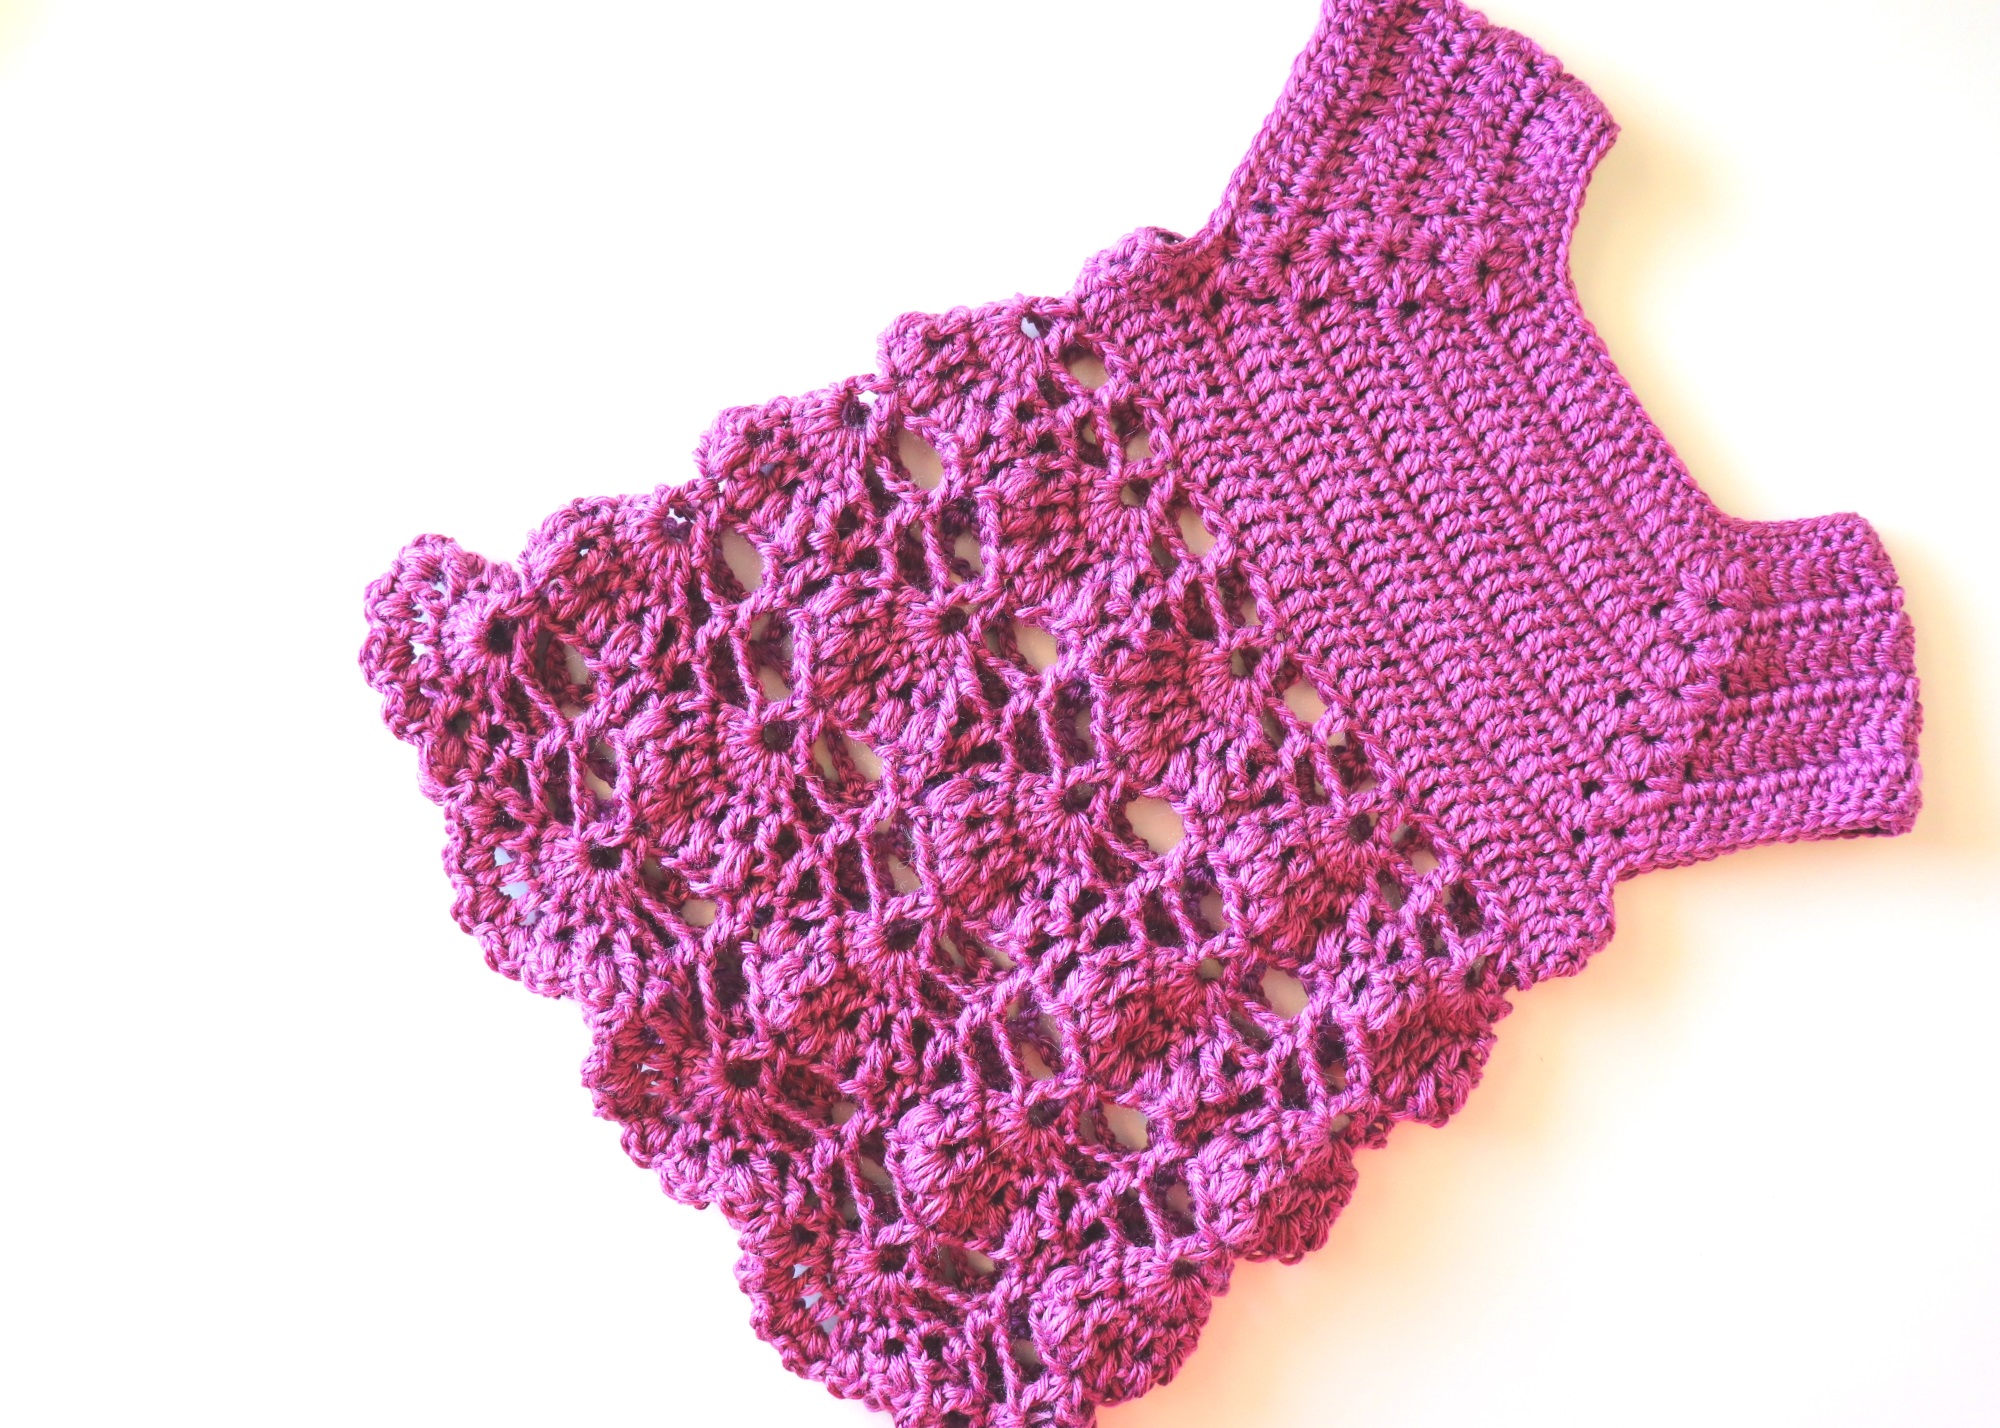
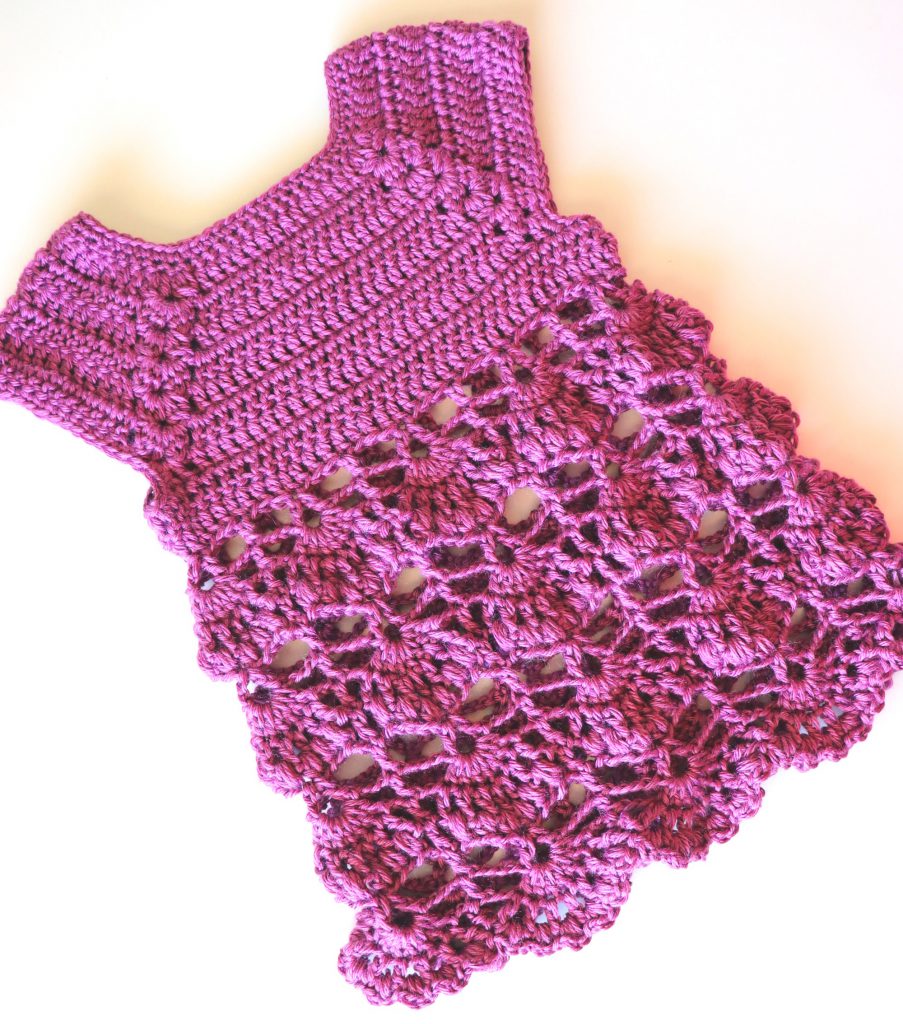
I’m so happy to sharing with you this cute crochet baby dress free pattern. I made it with one color, but it’s up to you. If you want you can use more colors or use multicolor yarns. You can do this dress in any size you want. In this pattern I made it for size 0-6 months.
Materials
4 ply yarn
5.5mm hook
1 button size 1cm
Tapestry needle
Stitches used
Chain stitch: ch
Double crochet: dc
Double crochet three stitches together: dc3tog
Puff stitch: ps
Space: sp
Skip stitch: sk
Slip stitch: ss
Single crochet: sc
Yarn over: yo
Notes
Puff stitch Yo, insert hook into sp, yo, pull up a loop, yo, insert hook into same sp, yo , pull up a loop, yo insert hook into same sp, yo, pull up a loop, yo and pull through all loops on hook and close with ch1.
1. Whenever you see the word turn it means to turn your work clockwise so you can work back down the row.
2. When you are finished doing the neck and arms you will be joining and going in the round, so if you want you can turn your piece right side out.
3. Before you start your sc edging you can close up the back opening a little bit if you want. Finished dress should be 10 inches across just up arms and 15 inches from shoulder to bottom of dress.
You will start by making a square yoke.
Row 1. Ch 65, 1 sc in second ch from hook and in every ch across.
Row 2. Ch2 and turn, 1 dc in next 7 sc, ch1, do dc3tog in next st, ch1 to close, ch2, in next st do dc3tog, ch1 to close, ch1, *(1 dc in next 14 sc, ch1, do dc3tog in next st, ch1 to close, ch2, in next st do dc3tog, ch1 to close, ch1)** repeat from * to ** 2 more times. 1 dc in the next 7 sc.
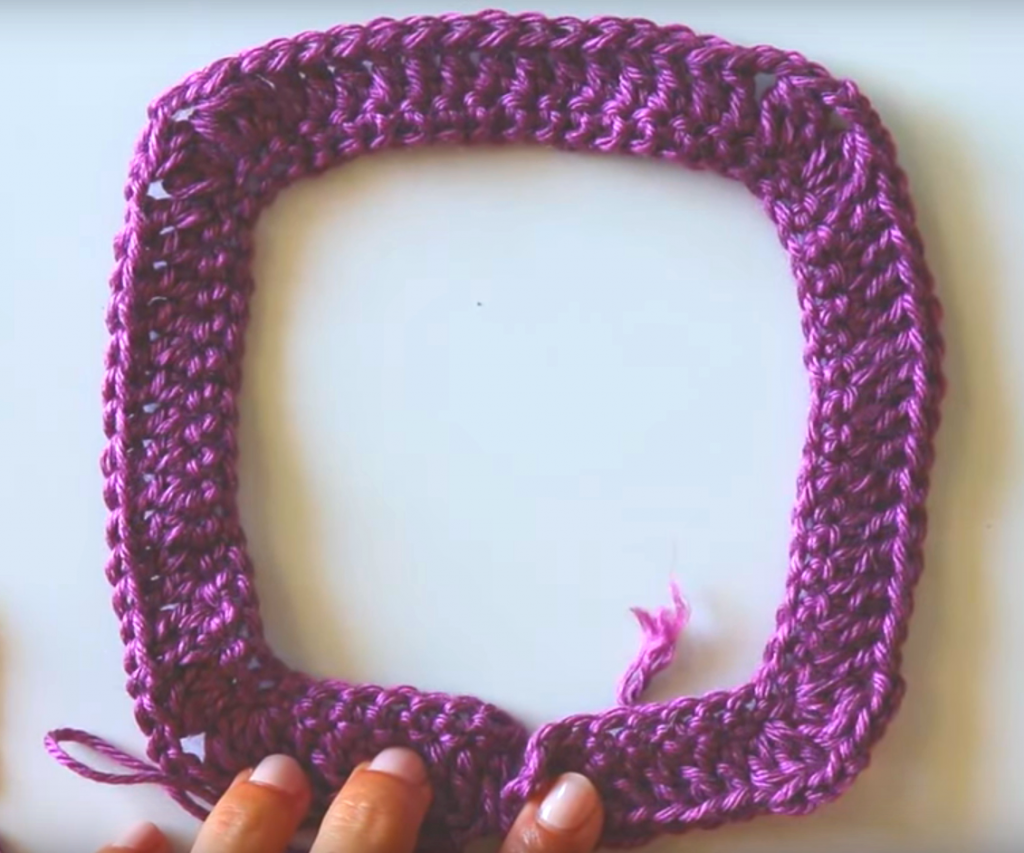
Row 3. Ch2 and turn, 1 dc in next 7 dc, 1 dc in ch1 sp, ch1, into ch2 sp do dc3tog, ch1 to close, ch2, dc3tog ch1 to close, in same sp, ch1, 1 dc in ch1 sp, *( 1 dc in next 14 sts, 1 dc in ch1 sp, ch1, in next ch2 sp do dc3tog, ch1 to close, ch2, dc3tog, ch1 to close, ch1, 1 dc in ch1 sp)** repeat from * to ** 2 more times, 1 dc in next 7 dc.
Row 4-8. Repeating row 3. Each row will add 2 more sts to the 2 sides and font and 1 more st for each of the back pieces.
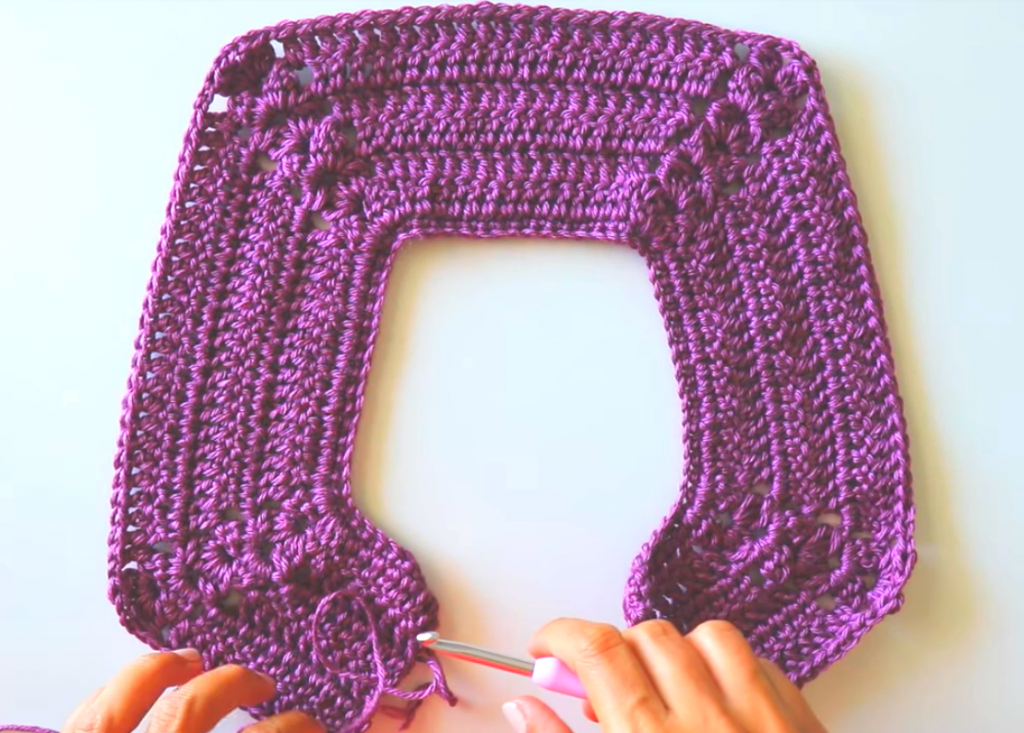
Row 9. Ch2 and turn, 1dc in next 12 dc, 1 dc in ch1 sp, 2 dc in ch2 sp, ch6, sk the next 24 dc and do 2 dc in next ch2 sp, 1 dc in next ch1 sp, 1 dc in next 24 dc, 1 dc in ch1 sp, 2 dc in ch2 sp, ch6, sk next 24 dc, 2 dc in ch2 sp, 1 dc in ch1 sp, 1 dc in last 12 dc. Join two back pieces together with a ss into first dc.
Rnd 10. Ch2, and turn, 1 dc in each dc and 1 dc in each ch of the ch6 around, ss into first dc.
Rnd 11. Ch2 and turn, 1 dc in each dc around, ss ito first dc.
Turn your piece right side out.
Rnd 12. Ch7, no turning from now on. Sk 4 sts, 1 dc ch3, 1 dc in same st, *(ch4, sk 3, 1 dc in next st, ch4, sk 3, 1 dc, ch3, 1 dc, in same st)** repeat From * to ** around. You we be left with 3 sts ch4, and ss into 3rd ch of ch7.
Rnd 13. Ch5, 7 dc in ch3 sp, ch2, 1 dc in next dc st, *( ch2, 7 dc in ch3 sp, ch2, 1 dc in next dc st)** repeat from * to ** around ch2 and ss into 3rd ch of ch5.
Rnd 14. Ch4, *(do 1 dc and ch1 in each of the next 7 dc, 1 dc in next dc, ch1)** repeat from * to ** around. After last dc and ch1, ss into 3rd ch of ch4.
Puff st refer to notes.
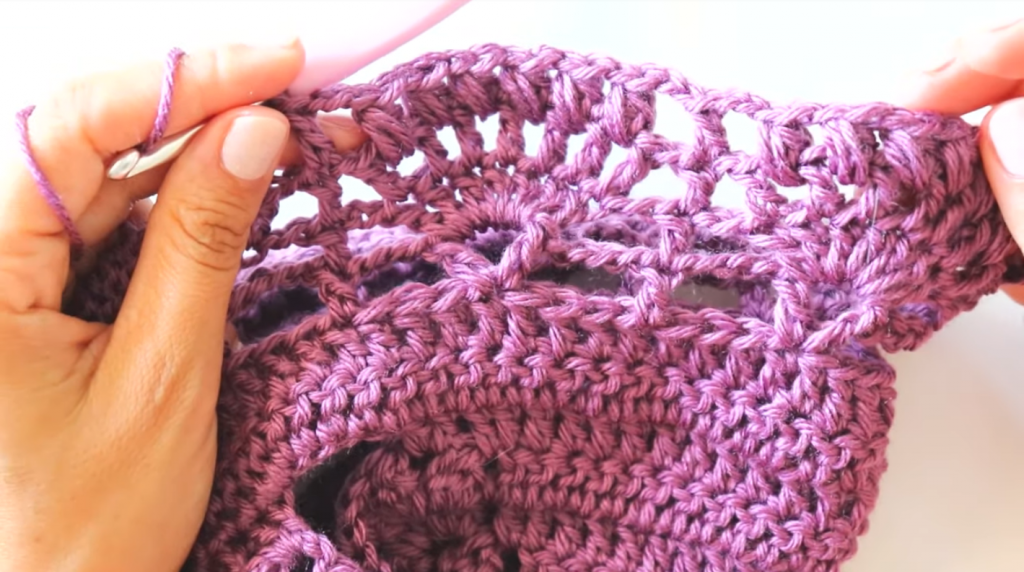
Rnd 15. Ch5, *( do 1 pf st, into ch1 sp in between each of the next 7 dc, you should have 6 ps, ch2, 1 dc in next dc st, ch2)** repeat from * to ** around and ss into 3rd ch of ch5.
Rnd 16. Ch7, *(do 1 dc, ch3, 1 dc into ch sp in between the 3rd and 4th ps, ch4, 1 dc in next dc, ch4)** repeat from * to ** around and ss into 3rd ch of ch7.
Rnds 17-26. Repeat rnds 13, 14, 15, 16. Two more times then repeat rnds 13 and 14 one more time.
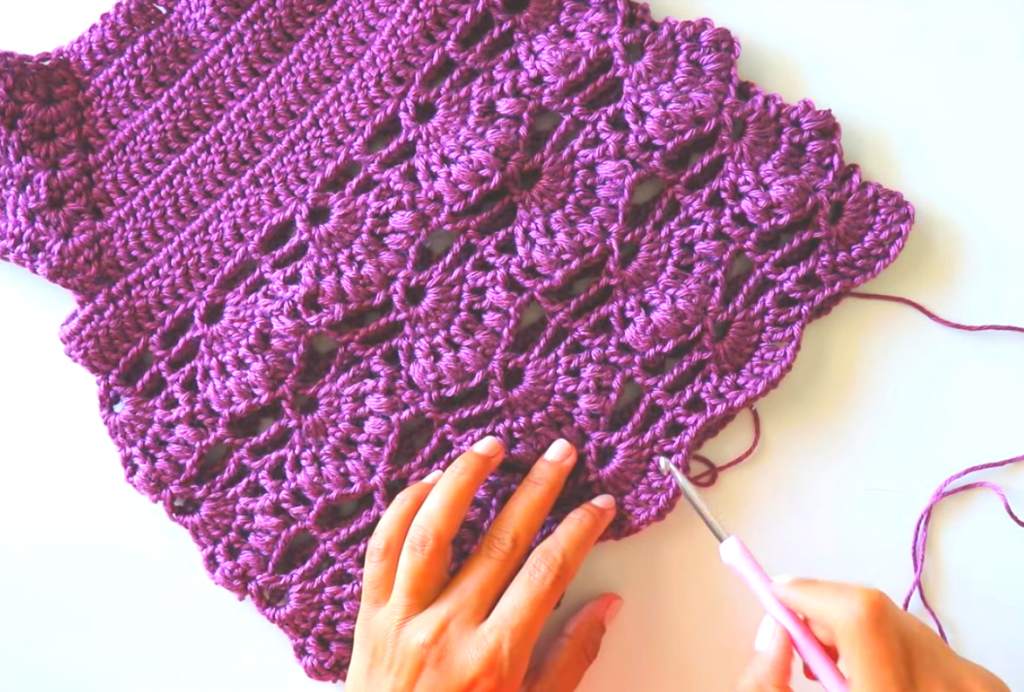
Rnd 27. Ch1, into each of the ch1 sps between the 7 dc, do 1sc, 1 ps, 1 sc, you will have 6 ps sts. *( sk the next dc, and repeat the 1 sc, 1 ps, 1 sc, into the next ch1 sps between the next 7 dc)** repeat from * to ** around. Ss into 1st sc st ch1 and cut yarn. Weave in tail. To finish up you will do a sc edge around the neck and arms. Ss into 1st st of the neck and sc around top and back opening, after your last st cut yarn and thread the tail into needle and insert needle into first sc then into last sc, then weave in yarn. Repeat for arms.
Pattern created by Sirin’s Crochet
Written by Rachel Websdale (rachelweb31)
Copyright; This pattern is copyrighted by Sirin’s Crochet and may not be copied, sold, distributed and claimed as yours. You are more than welcome to share and sell your makes using this pattern. Please give credit to Sirin’s Crochet.
Please feel free to visit my YouTube channel at Sirin’s crochet for more free video tutorials and don’t forget to subscribe to be notified for more free patterns.
I will be more than happy to answer any questions or concerns you might have regarding this pattern Connect with me:
Hotmail; orgucusirin@hotmail.com
Instagram; https://www.instagram.com/sirinscrochet
Facebook; https://www.facebook.com/sirinscrochet
- Video Tutorial :

