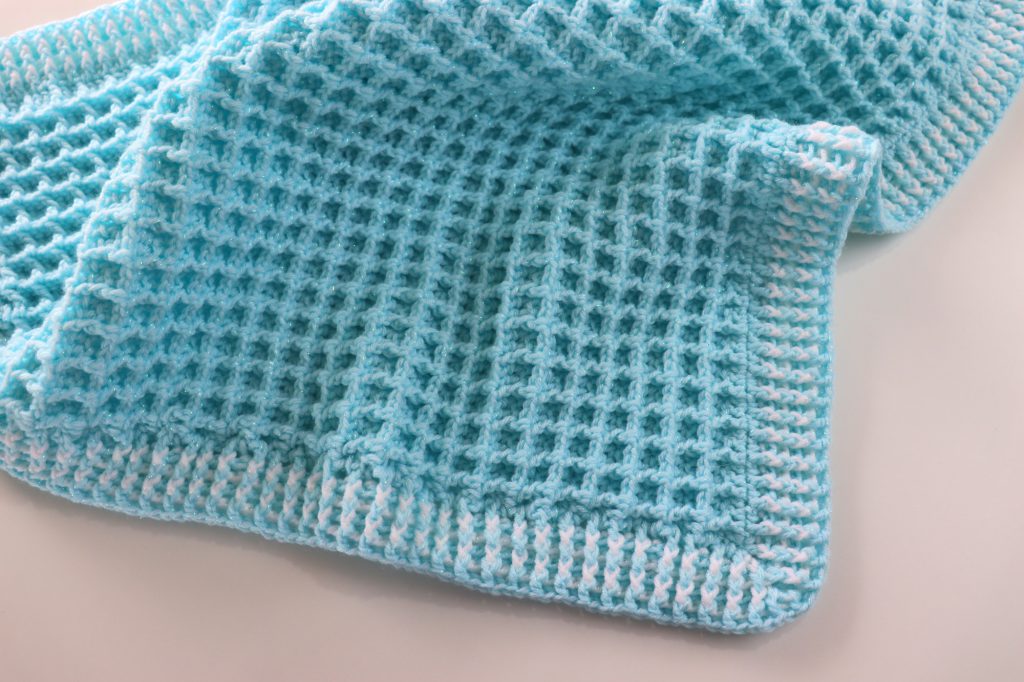
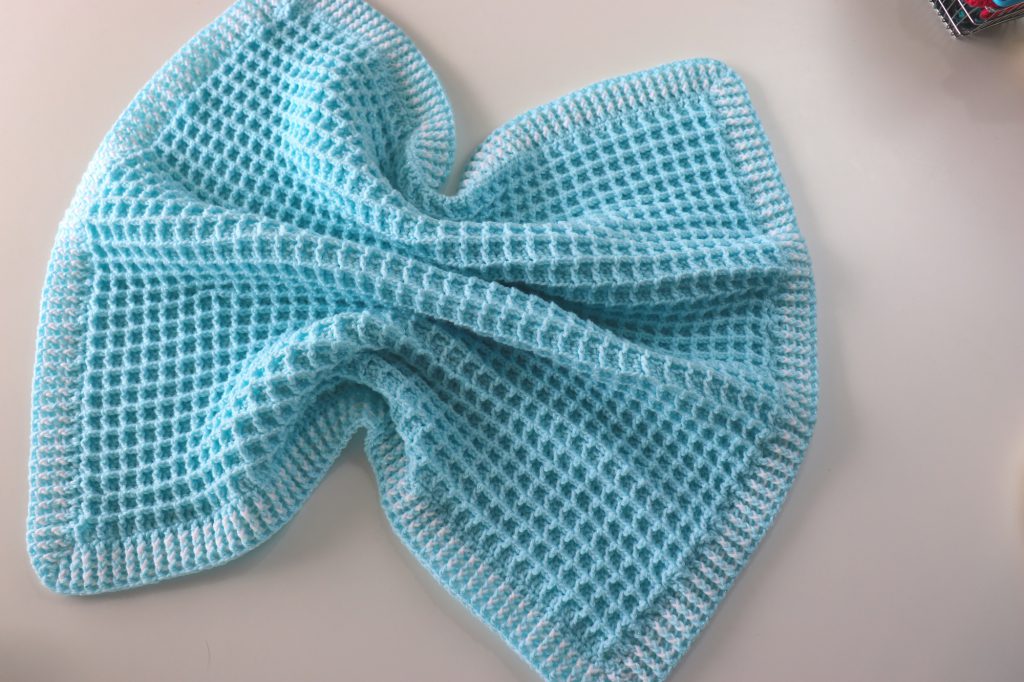
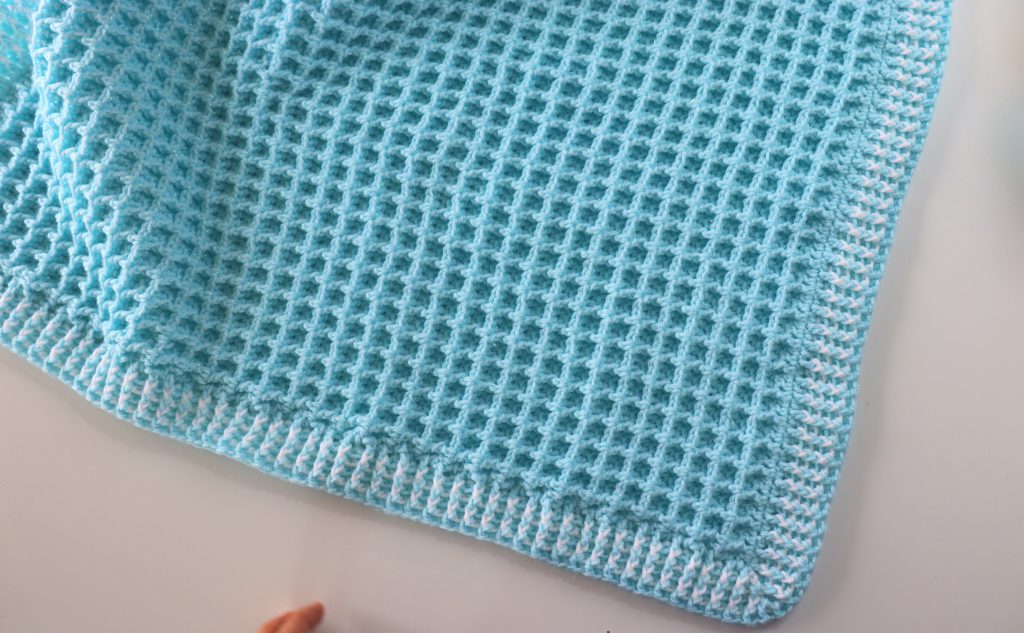
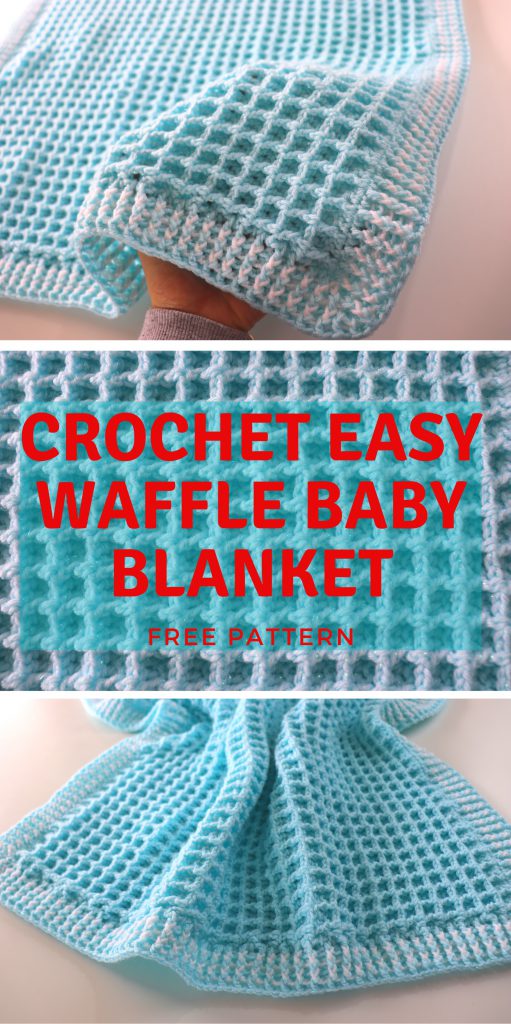
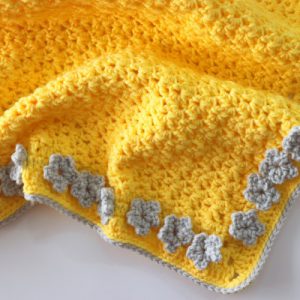
The waffle stitch is a very fun stitch for blankets and almost every other crochet projects. You can also easily make a baby hat, scarf, cardigan, trouser vb. from the same stitch and use them together.
The pattern itself is rather simple. It repeats two rows for the entire pattern. And the border is just one row repeat. Am I right? It’s simple 🙂
I would like to see and share your finished projects. Please don’t forget to tag me at instagram ( @sirinscrochet).
- You can purchase the ad-free PDF versions of my patterns on Etsy.
- You can print the PDF’s and use them anywhere you want. This way you can also support my works too.
Materials
Yarn size 3 320 mt-350 yards (3,5 balls of blue 1 ball of white for the newborn size)
5mm hook for blanket
4.5mm for the border
Tapestry needle
Stitches used
Chain: ch
Sİngle crochet:sc
Double crochet:dc
Front post double crochet:fpdc
Stitch: st
Space: sp
Notes
When you see *( )** it means you repeat the instructions in between *( )** Where you see the word turn it means to turn your work clockwise and work back down the row.
Row 1: Ch multiples of 3+2. Yarn over skip 2 st and make a dc in every st.
Row 2: Ch2 (not count as a st),turn. Make a dc in the 1st st. Make a fpdc around the 2nd dc of previous row *( 2 dc in each 2 st+ make a fpdc around the next dc of previous row )** The last st of this row will be a dc.
Row 3: Ch2(not count), turn. 2dc+*(2fpdc+1dc)** Finish with a dc.
Row 4: Ch2(not count), turn. 1dc+make a fpdc around the 2nd dc*(2dc+1fpdc)** Finish with a dc.
Repeat row 3 and 4 until your blanket reach the size you want.
Border
Row 1:
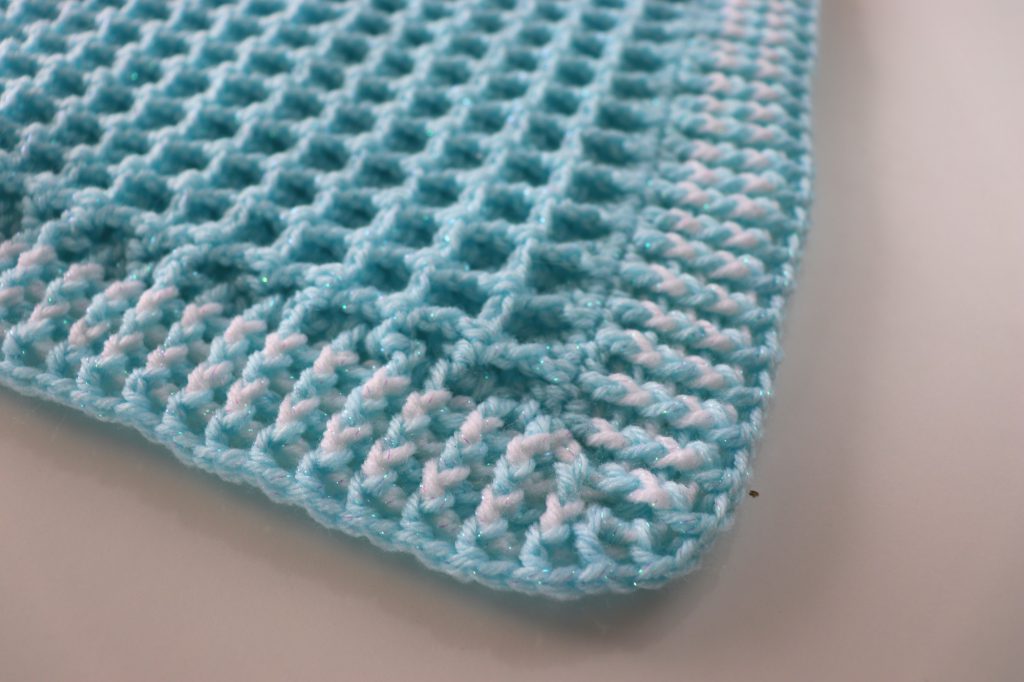
1st-3rd side: Sl st from the corner to the 1st st. Make a dc in every st on the side. Look at the video 13:24 espicially details of st. When you come to the corner, your number of dc have to be odd numbers.
On the corner; Make 3 dc in the st.
2nd-4th side: Make a dc in every st. When you come to the corner, your number of dc have to be odd numbers.
Row 2:Ch2+*(1fpdc+1bpdc)**
On the corner: 1fpdc+ (1bpdc+1fpdc+1bpdc) in 1 stitch. (this is our increase point)+1fpdc
Always increase with the middle st of the corner.
Repeat row 2 until your border reach the size you want, suggested 5 rows.
Pattern created by Sirin’s Crochet
Written by Gozde Gunes Tezcan (@crochetwithGG)
Copyright; This pattern is copyrighted by Sirin’s Crochet and may not be copied, sold, distributed and claimed as yours. You are more than welcome to share and sell your makes using this pattern. Please give credit to Sirin’s Crochet.
Please feel free to visit my YouTube channel at Sirin’s Crochet for more free video tutorials and don’t forget to subscribe to be notified for more free patterns.
I will be more than happy to answer any questions or concerns you might have regarding this pattern. Connect with me:
Hotmail; orgucusirin@hotmail.com
Instagram; https://www.instagram.com/sirinscrochet
Facebook; https://www.facebook.com/sirinscrochet
- Video Tutorial :


Great content! Super high-quality! Keep it up! 🙂
Thank you ♥
Thank you, I love your patterns!
Hi Sirin, thanks so much for your terrific video’s, you have been such a help and your soothing voice has been such a friend to me over this Covid time. I havent crocheted for 47 years, and you have helped me conquer my fears of giving it a go. Regards Lisa (Australia)
Hi Lisa. So happy to read you like my works ♥♥ Glad you overcame your fears. Loves from Turkey 🙂
I’ve attempted this stitch before for a blanket but it wasn’t straight. Is there a reason why or a way to fix the problem?
Nice read, I just passed this onto a colleague who was doing a little research on that. And he just bought me lunch as I found it for him smile So let me rephrase that: Thank you for lunch! “We have two ears and only one tongue in order that we may hear more and speak less.” by Laertius Diogenes.