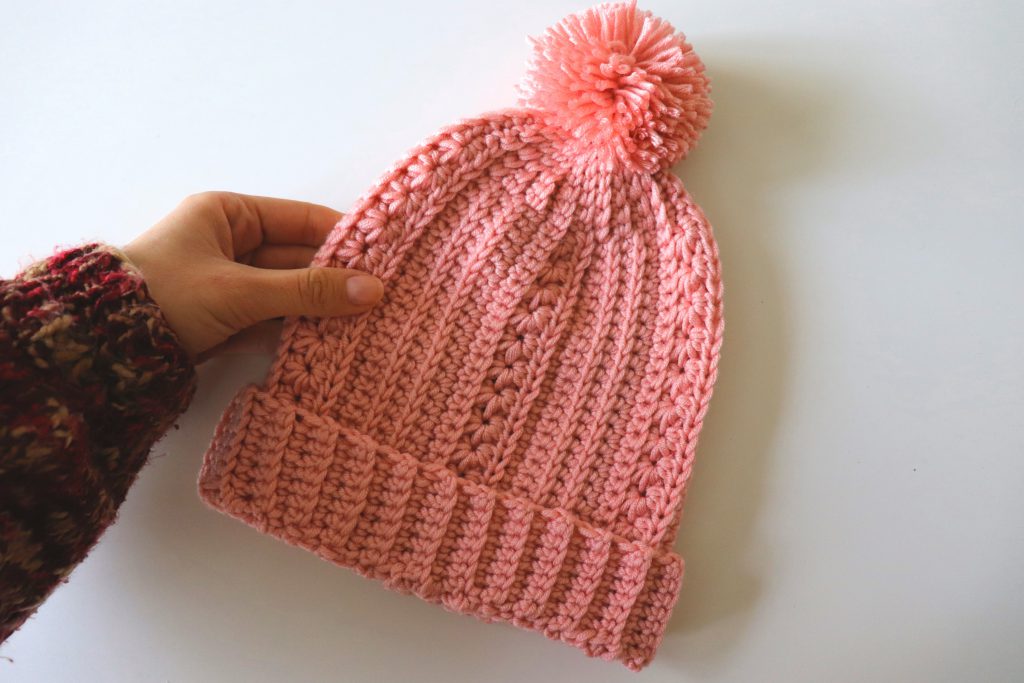
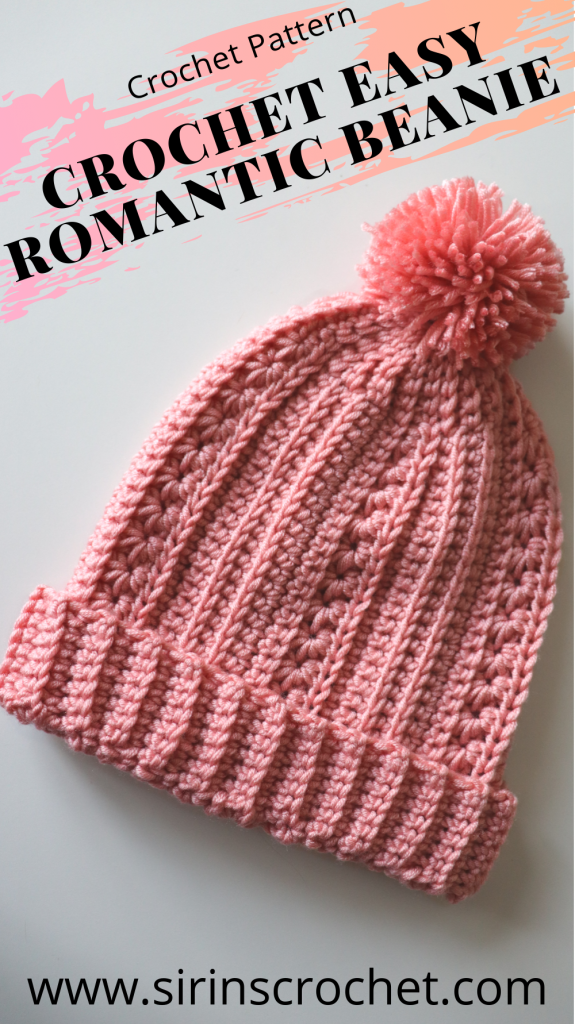
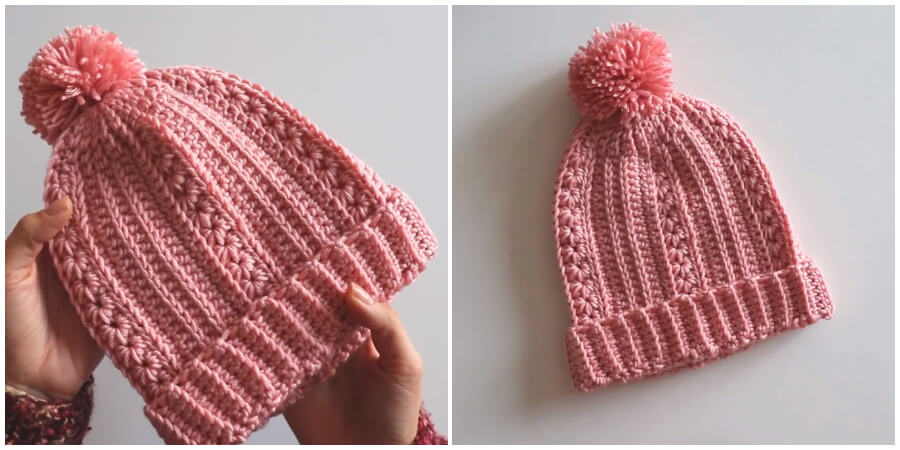
I’m so happy to share one of my first hat designs. It’s not a beginner project but with a few tries you can easily do it. And finally it has a written pattern 🙂
I made a small version but you can make it for yourself too. I hope you like it.
- You can purchase the ad-free PDF versions of my patterns on Etsy.
- You can print the PDF’s and use them anywhere you want. This way you can also support my works too.
Materials
Size 5 yarn
6.00mm hook for the hat
Tapestry needle
Stitches used
Chain: ch
Single crochet:sc
Slip stitch: sl st
Stitch: st
Space: sp
Notes
When you see *( )** it means you repeat the instructions in between *( )** Where you see the word turn it means to turn your work clockwise and work back down the row.
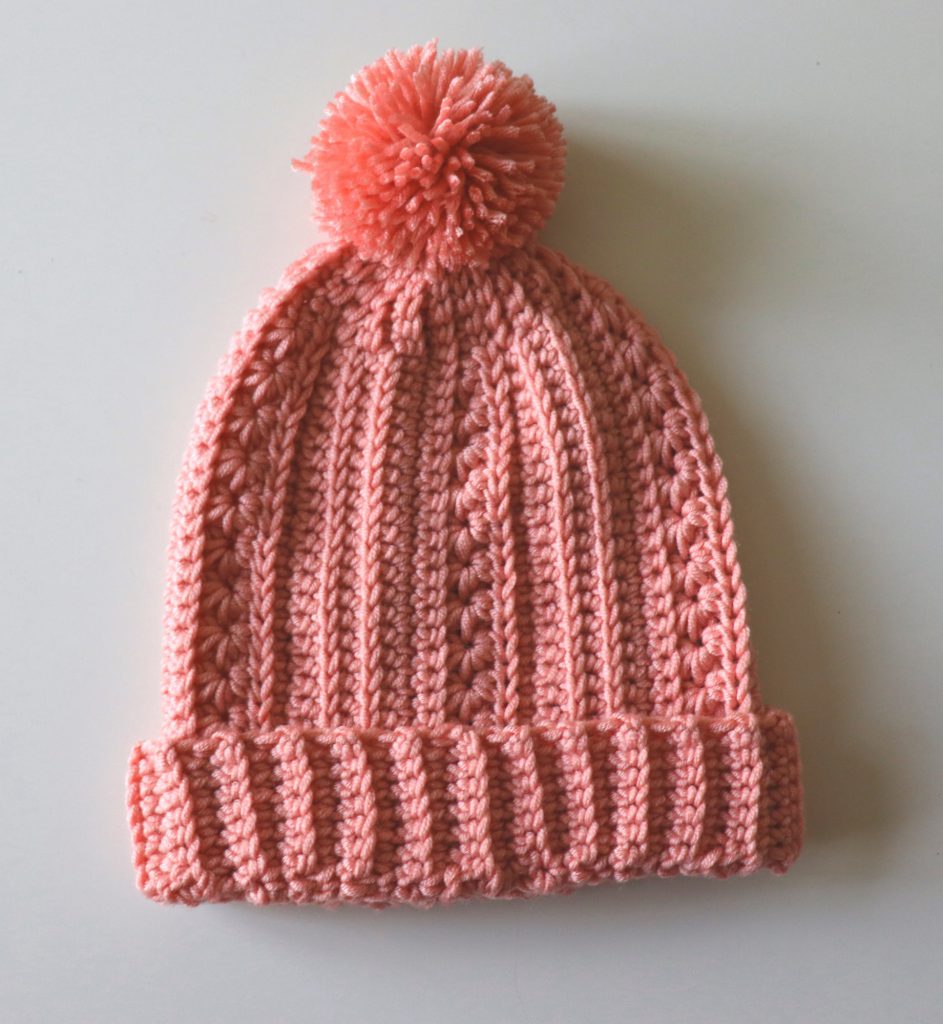
The beanie for 4-5 years old child. Ch 40 and make 39st. Seperate stitches like that;
7st ribbed part+26st pattern+6st top of the hat.
Important point:If you want to adapt it for all ages,measure your old hat, give nearly 2 inches for ribbed part and 6 st for top of the hat.Rest of all st for pattern.
Row 1: Make a slipknot. Make your chains which size you want. Make a sc in every st only back loop,except 6 st. The last 6 st; mke 3 sc+make 3 sl st.

Row 2: Ch1 and turn. 3 sl st on back loop+ make a sc in every st on back loop.
Row 3: Ch1 and turn. In this row seperate your st for; ribbes+pattern+top of the hat.
RİBBED: make a sc in every ribbed part st on back loops+
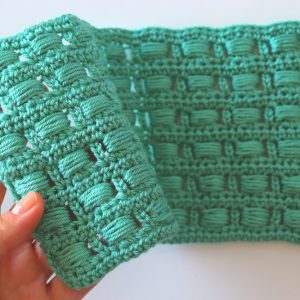
PATTERN:yarn over and insert your hook next st and grab the yarn,insert your hook back loop of the st and grab the yarn and insert your hook next two stitche’s back loop and grab the yarn.you have 5 loops,pull through all of them. +Ch1 you have a half star st.

+ *(yarn over insert your hook in this ch1 sp and grab the yarn+insert your hook in the bottom of the st and grab the yarn+and insert your hook next two st on back loops and grab the yarn+you have 5 loop on your hook pull through together + ch1)**


you can see the details on video (7:55-8:20)
TOP OF THE HAT: 3 back lopp sc+3 sl st.
Row 4: Ch1,turn.
TOP OF THE HAT: 3 back loop sc+3 sl st.
PATTERN: make 2 hdc in the ch1 sp of previous row.
RIBBED: make back loop sc in every st.
Row 5: Ch1,turn.
RIBBED: make back loop sc in every st.
PATTERN: make back loop sc in every st.
TOP OF THE HAT: 3 back loop sc+3 sl st.
Row 6: Ch1,turn.
TOP OF THE HAT: 3 back loop sc+3 sl st.
PATTERN: make sc in every st.
RIBBED: make back loop sc in every st.
Row 7: Ch1,turn.
RIBBED: make back loop sc in every st.
PATTERN: make sc in every st.
TOP OF THE HAT: 3 back loop sc+3 sl st.
Row 8: Ch1,turn.
TOP OF THE HAT: 3 back loop sc+3 sl st.
PATTERN: Find the loops, which are under the st and make a sc.(note: your work is on the back side.)

RIBBED: make back loop sc in every st.
Row 9: Ch1,turn.
RIBBED: make back loop sc in every st.
PATTERN: make sc in every st.
TOP OF THE HAT: 3 back loop sc+3 sl st.
Row 10: Ch1,turn.
TOP OF THE HAT: 3 back loop sc+3 sl st.
PATTERN: Find the loops, which are under the st and make a sc.(note: your work is on the back side.)
RIBBED: make back loop sc in every st.
Row 11: Ch1,turn.
RIBBED: make back loop sc in every st.
PATTERN: make sc in every st.
TOP OF THE HAT: 3 back loop sc+3 sl st.
Row 12: Ch1,turn.
TOP OF THE HAT: 3 back loop sc+3 sl st.
PATTERN: Find the loops, which are under the st and make a sc.(note: your work is on the back side.)
RIBBED: make back loop sc in every st.
You can repeat the row 3 to 12 until , this piece turn around your head.
Start to join with the ribbed part from the front side+ make sl st. Then turn your work, keep making sl st in every st.
Insert your needle from the top of the hat st and shrink your beanie.
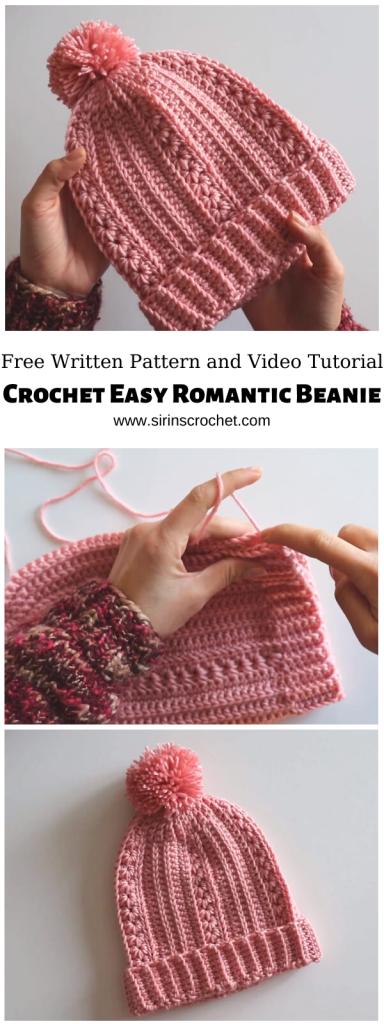
Pattern created by Sirin’s Crochet
Written by Gozde Gunes Tezcan (@crochetwithGG)
Copyright; This pattern is copyrighted by Sirin’s Crochet and may not be copied, sold, distributed and claimed as yours. You are more than welcome to share and sell your makes using this pattern. Please give credit to Sirin’s Crochet.
Please feel free to visit my YouTube channel at Sirin’s crochet for more free video tutorials and don’t forget to subscribe to be notified for more free patterns.
I will be more than happy to answer any questions or concerns you might have regarding this pattern. Connect with me:
Hotmail; orgucusirin@hotmail.com
Instagram; https://www.instagram.com/sirinscrochet
Facebook; https://www.facebook.com/sirinscrochet
- Video Tutorial :
Hello! How much yarn will I need? I have about 200g yarn. Will this be enough for an adult/child hat? Thank you.
Yes that will be enough for adult/child. Of course yarn’s measurements is important too.
Hi Sirin;
I find your tutorial in you tube. I want to congratulate you, for sharing your work with everyone.
I find easy to do it.
I am a new at crocheting. I’m from Mexico. I like your beautiful country .
I want to give to people in need.
The hats this coming winter.
Thank you
Hi Adriana. heiping people in needs is a sweet action. Thank you for your generosity ♥♥ Hope to see you again.