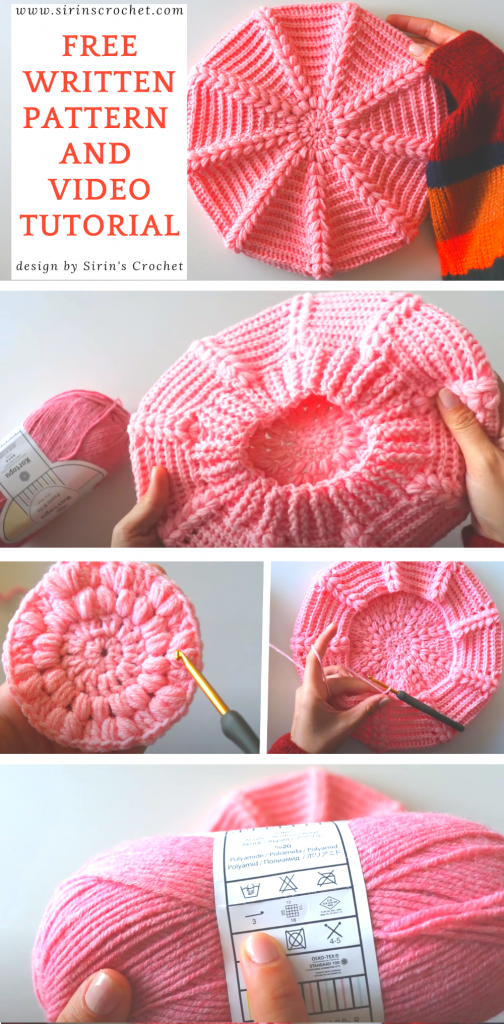
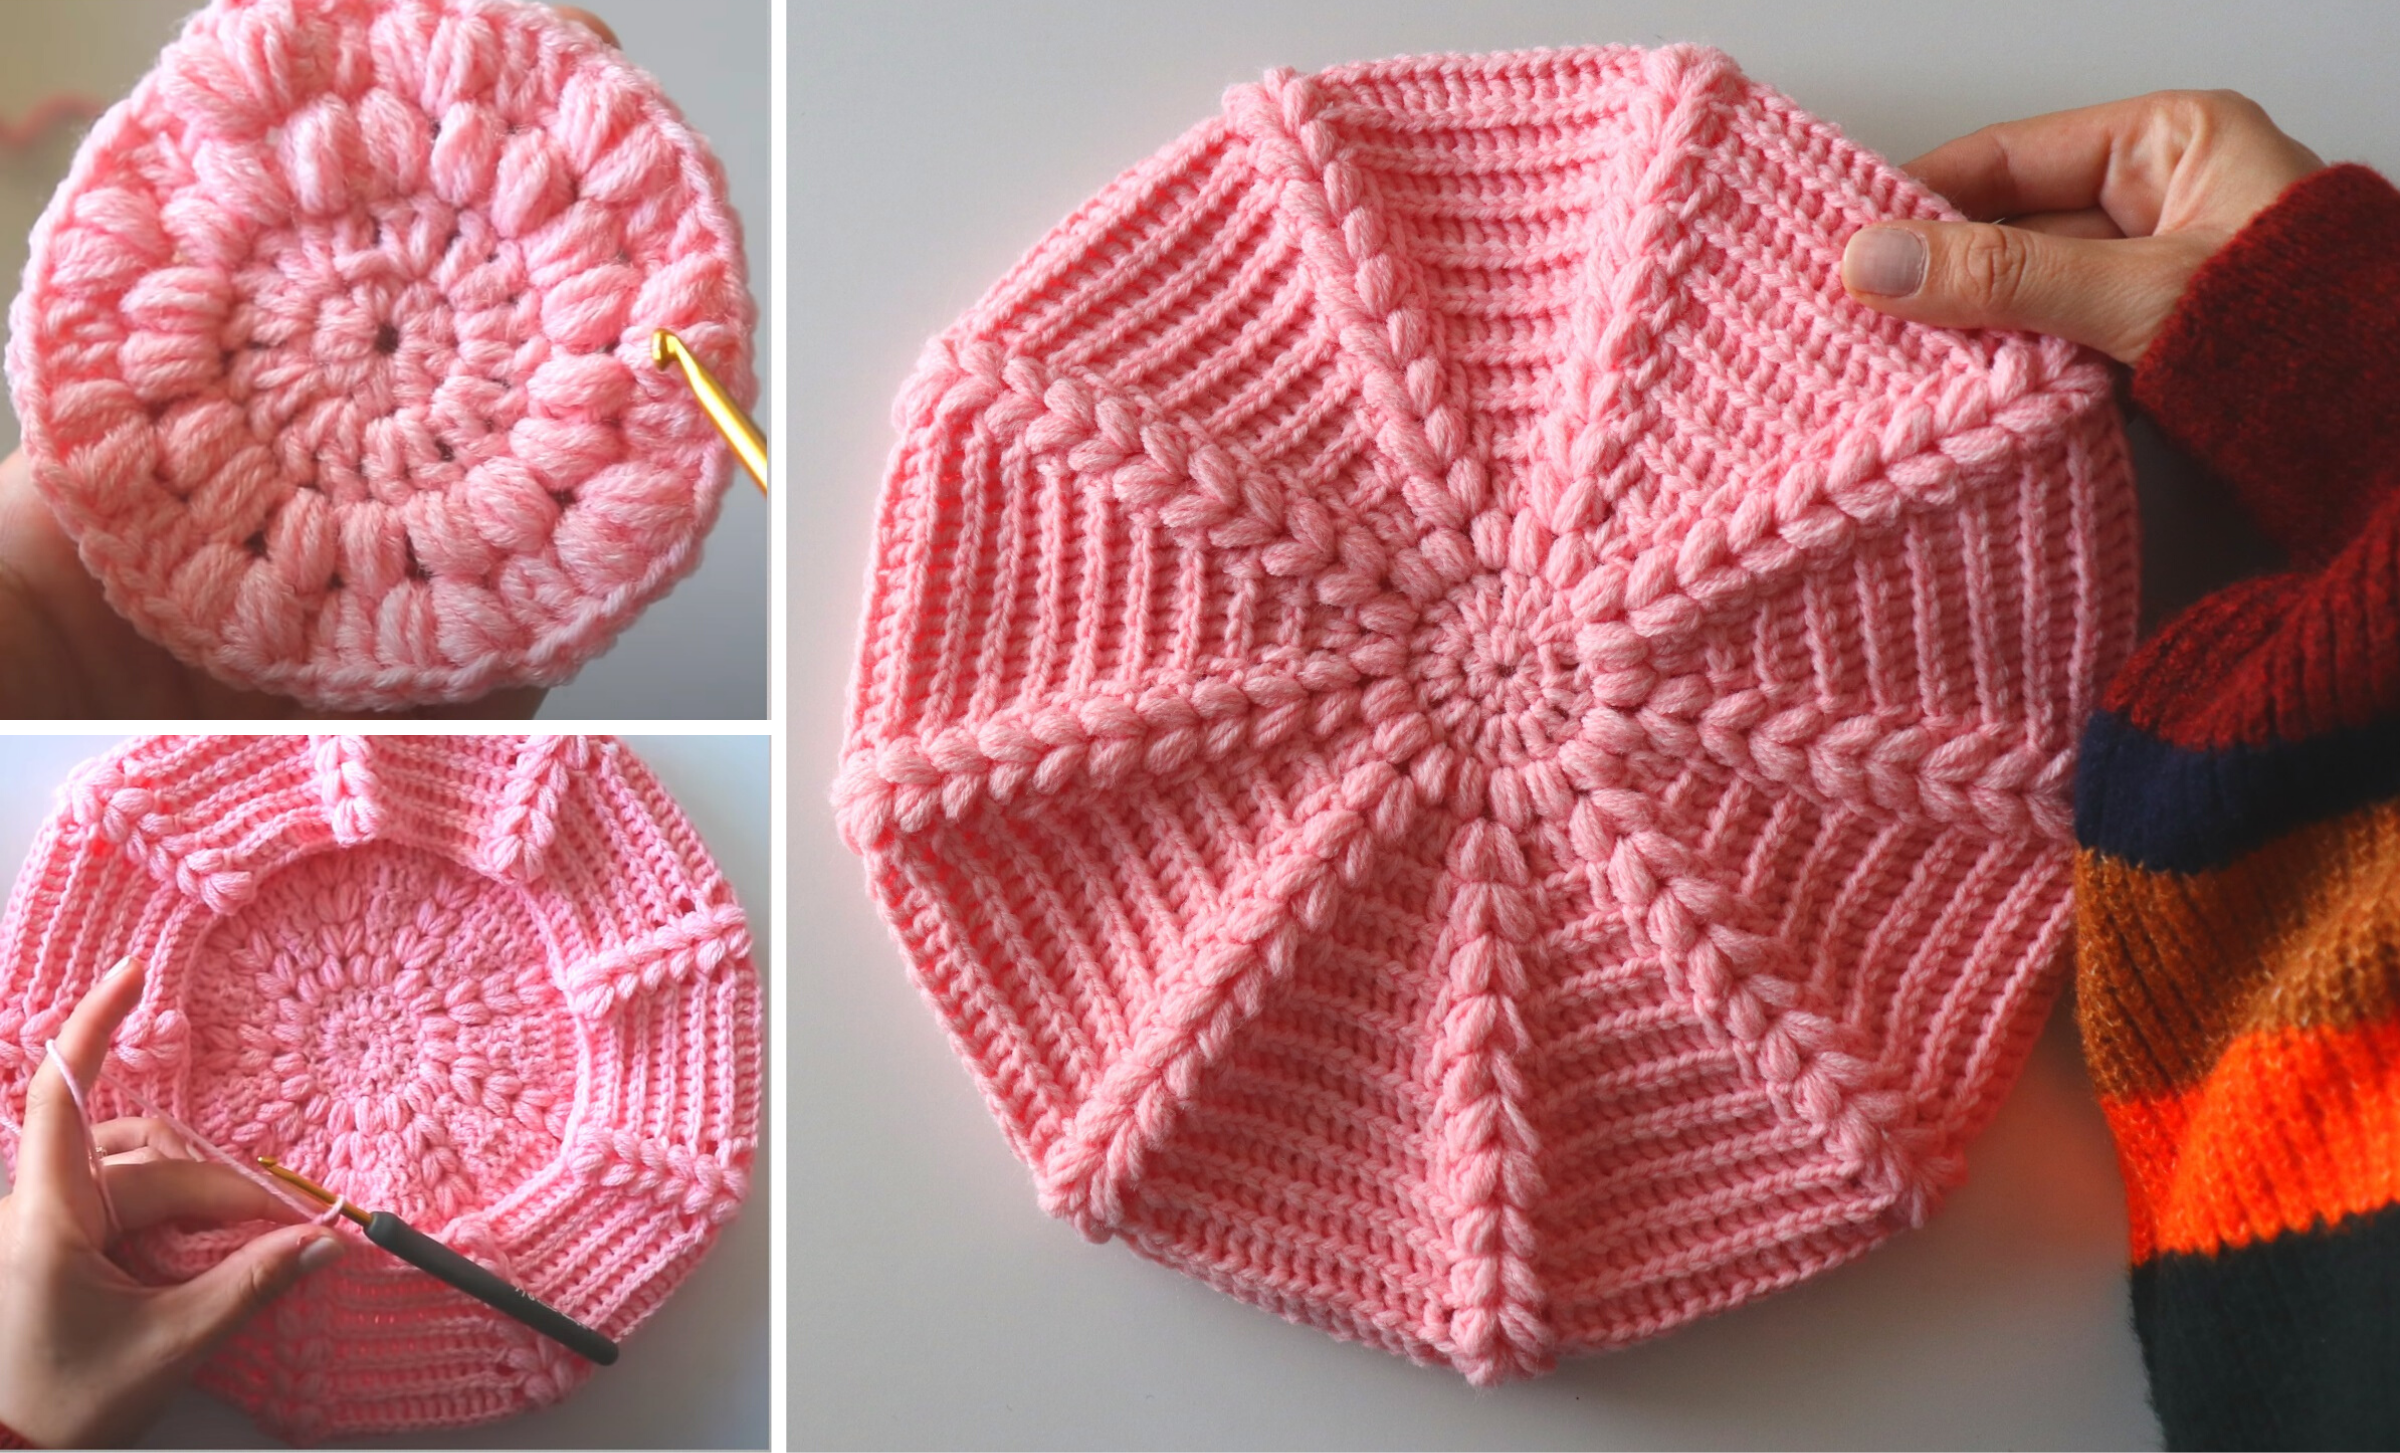
A french beret is a good cold protective as well as it’s a beautiful accessory. You can use it with long hair or short hair and you can feel charming like Brigitte Bardot.
Here I show adult size but you can easily change it according to the size you want. One ball of yarn will be fairly enough for an adult. Please don’t forget to share your results with me. ♥
Materials
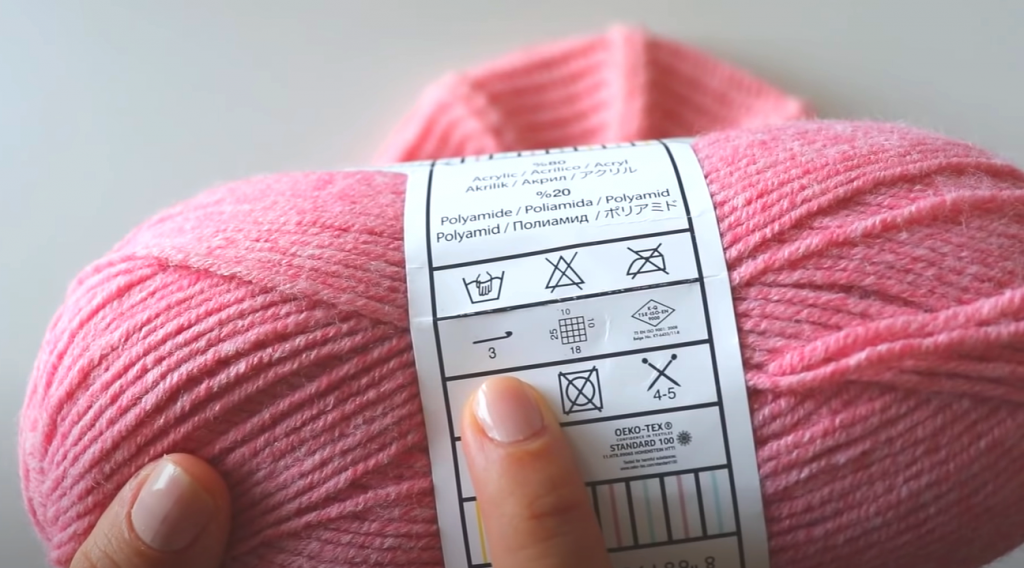
Size 3 yarn – 290 mt
4.00 mm hook
Tapestry needle
Stitches used
Chain: ch
Half double crochet:hdc
Double crochet:dc
Back post double crochet: bpsc
Front post double crochet:fpdc
Stitch: st
Notes
When you see *( )** it means you repeat the instructions in between *( )** Where you see the word turn it means to turn your work clockwise and work back down the row.
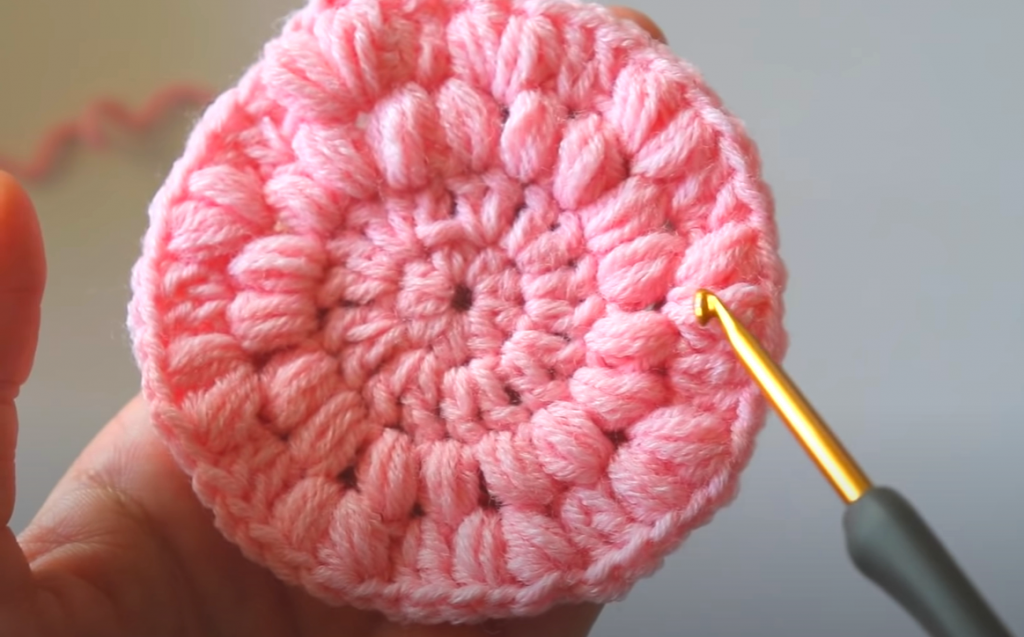
Make a magic ring and make 9 hdc in it.
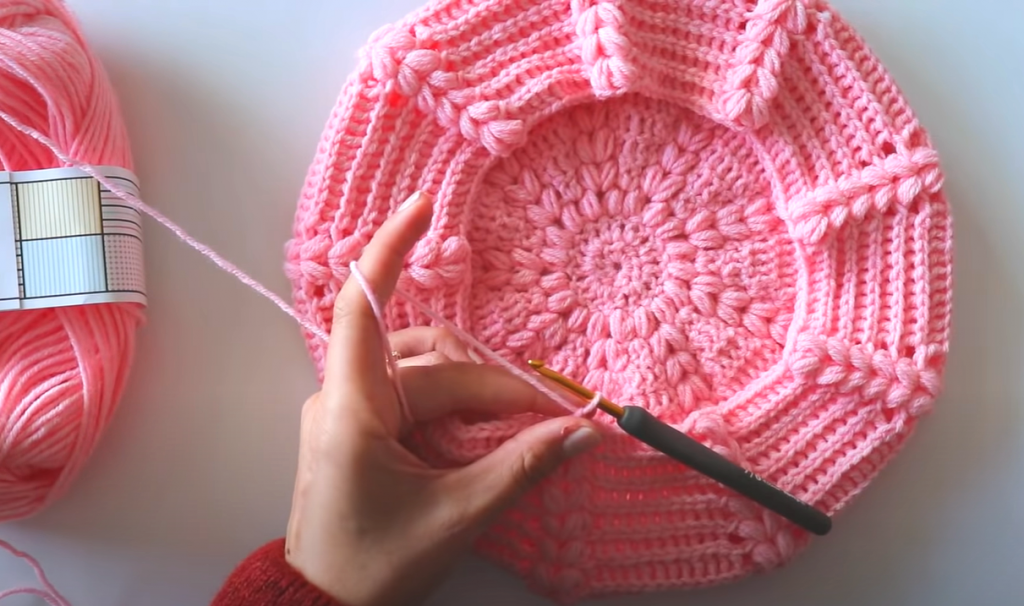
Row 1: Ch2 and not count. Make 2 dc in every st. (total 18dc)
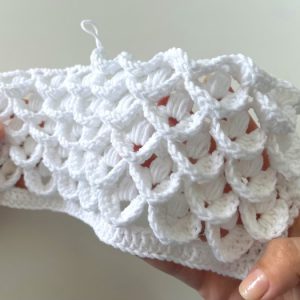
Row 2: Ch1+pull up a yarn 3 times and pull through together and ch1 so you have a puff st+and make a puff st in the same st. Then make a 2 puff st in every st. (total 18 puff st)
Row 3: Ch1+*(2 puff st+2dc)**
Row 4: Sl st to the between of the puff stitches+ch1+*(2 puff st+make a dc in the middle of the puff st and dc of previous row+2 bpdc in the 2 dc’s st of previous row+make a dc in the middle of the puff st and dc of previous row)**so make increasing
Row 5: Sl st to the between of the puff stitches+ch1+*(2 puff st+make a dc in the middle of the puff st and dc of previous row+4 bpdc+make a dc in the middle of the puff st and dc of previous row)**so make increasing
Row 6: Sl st to the between of the puff stitches+ch1+*(2 puff st+make a dc in the middle of the puff st and dc of previous row+6 bpdc+make a dc in the middle of the puff st and dc of previous row)**so make increasing
Row 7: Sl st to the between of the puff stitches+ch1+*(2 puff st+make a dc in the middle of the puff st and dc of previous row+8 bpdc+make a dc in the middle of the puff st and dc of previous row)**so make increasing
Row 8: Sl st to the between of the puff stitches+ch1+*(2 puff st+make a dc in the middle of the puff st and dc of previous row+10 bpdc+make a dc in the middle of the puff st and dc of previous row)**so make increasing
Row 9: Sl st to the between of the puff stitches+ch1+*(2 puff st+make a dc in the middle of the puff st and dc of previous row+12 bpdc+make a dc in the middle of the puff st and dc of previous row)**so make increasing
Row 10: Sl st to the between of the puff stitches+ch1+*(2 puff st+make a dc in the middle of the puff st and dc of previous row+12 bpdc+make a dc in the middle of the puff st and dc of previous row)**so make increasing
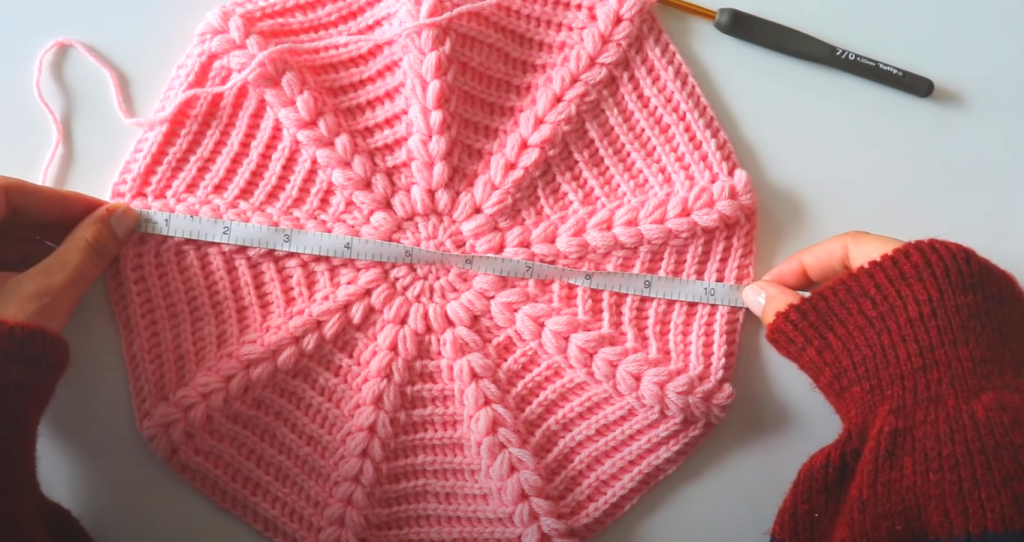
Increase like that,until radius to 4 inches.
Row 11: Sl st to the between of the puff stitches+ch1+*(2 puff st+14 bpdc)**
Row 12: Sl st to the between of the puff stitches+ch1+*(2 puff st+14 bpdc)**
Row 13: Sl st to the between of the puff stitches+ch1+*(2 puff st+14 bpdc)**
Row 14: Sl st to the between of the puff stitches+ch1+*(2 puff st+skip 1st+12 bpdc+skip 1st)**
Row 15: Sl st to the between of the puff stitches+ch1+*(2 puff st+skip 1st+10 bpdc+skip 1st)**
Row 16: Sl st to the between of the puff stitches+ch1+*(2 puff st+skip 1st+8 bpdc+skip 1st)**
Row 17: Sl st to the between of the puff stitches+ch1+*(2 puff st+skip 1st+8 bpdc+skip 1st)**
Row 18: Sl st to the between of the puff stitches+ch1+*(2 puff st+skip 1st+8 bpdc+skip 1st)**
Row 19: Sl st to the between of the puff stitches+ch1+*(2 puff st+skip 1st+8 bpdc+skip 1st)**
Row 20: Sl st to the between of the puff stitches+ch1+*(2 puff st+skip 1st+8 dc+skip 1st)**
Row 21: Ch2+*(2 fpdc in the 2puff st of previous row+2 bpdc)**
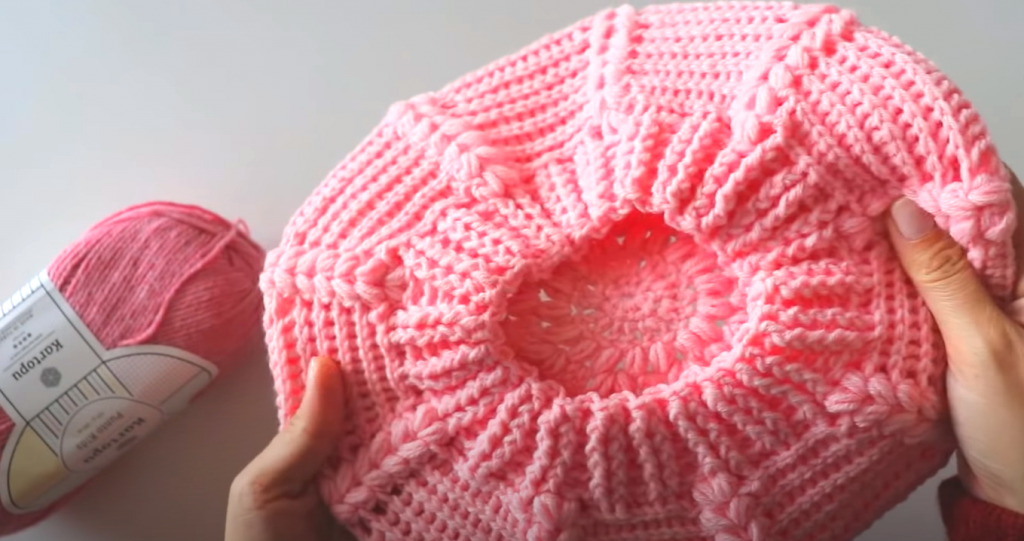
It’s important thing is after that row,you must have multiples of 4 st.
Row 22: Ch2 and not count. *(2fpdc+2bpdc)**
Row 23: Ch2 and not count. *(2fpdc+2bpdc)**
Row 24: Ch2 and not count. *(2fpdc+2bpdc)**
Row 25: Ch2 and not count. *(2fpdc+2bpdc)**
Pattern created by Sirin’s Crochet
Written by Gozde Gunes Tezcan (@gozdetariflerr)
Copyright; This pattern is copyrighted by Sirin’s Crochet and may not be copied, sold, distributed and claimed as yours. You are more than welcome to share and sell your makes using this pattern. Please give credit to Sirin’s Crochet.
Please feel free to visit my YouTube channel at Sirin’s crochet for more free video tutorials and don’t forget to subscribe to be notified for more free patterns.
I will be more than happy to answer any questions or concerns you might have regarding this pattern Connect with me:
Hotmail; orgucusirin@hotmail.com
Instagram; https://www.instagram.com/sirinscrochet
Facebook; https://www.facebook.com/sirinscrochet
- Video Tutorial :

I like your Cats. I have a Cat also. Do you have a pattern for a Cat?
I like to say thank you for sharing with us your free pattern and especially your tutorial video which makes it so much easier to follow especially when you don’t really understand the written abbreviations so thank you again I live it.