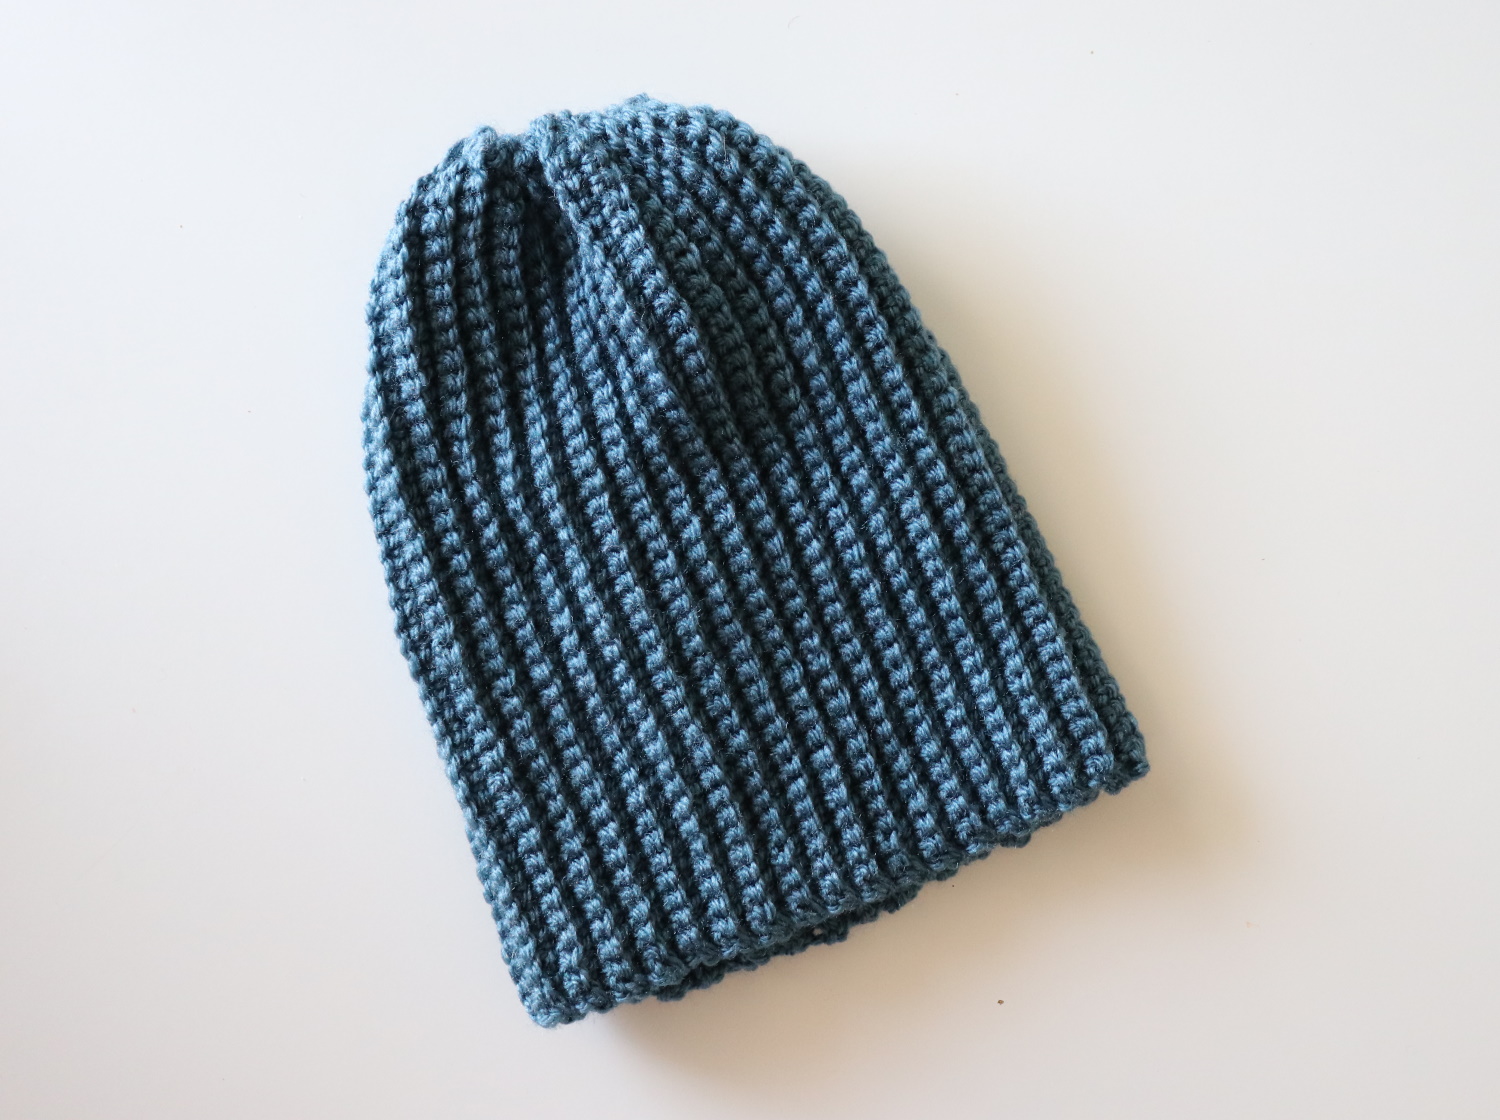
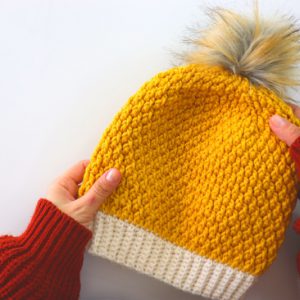
This hat is very simple and quick. It’s the easiest beanie that follows only 1 row repeat. It’s easily adjustable to any sizes you want. You can also add a faux fur pom pom or also create on your yarn pom pom.
MATERIALS
Yarn – 4 ply of one skein yarn
5mm Crochet Hook
Yarn Needle
Scissors
STITCHES & ABBREVIATIONS
Ch = Chain
St(s) = Stitch(es)
Sl St = Slip Stitch
SC = Single Crochet
BLO = Back Loop Only
NOTES:
*US crochet terms are used in this pattern.
*The turning chain ch 1 does NOT count as a stitch.
*Total stitches are indicated in between < >.
FOUNDATION CHAIN: Ch 41. ( If you want to make it slouchy Ch 51. )
ROW 1: Turn your chains and work in the back loops.SC into back loop of 2nd ch from hook,BLO SC in each st until end, turn. <40>
ROW 2: Ch 1, BLO SC across, turn. <40>
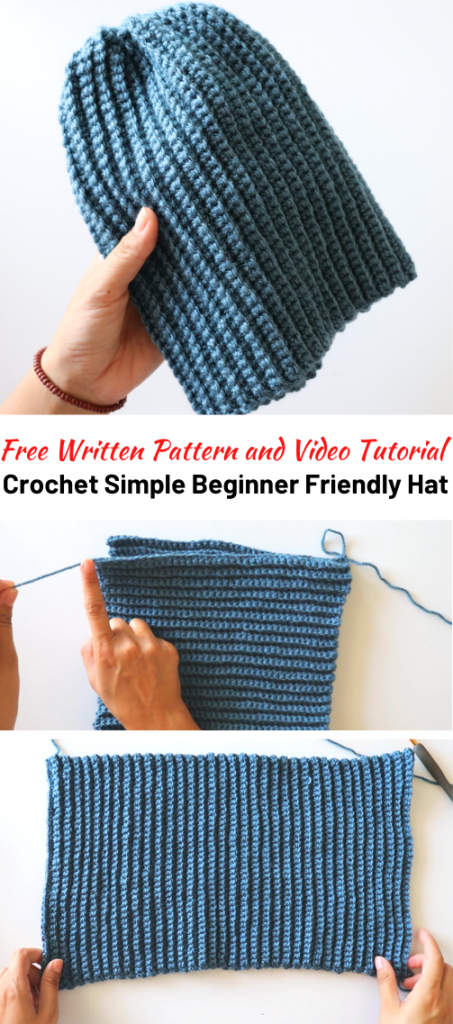
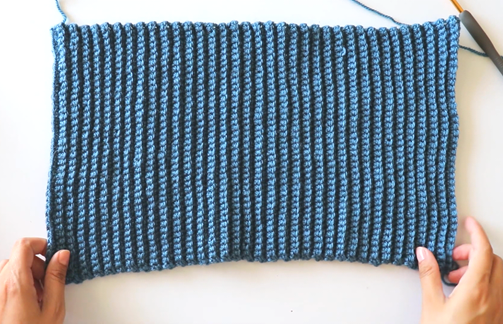
Repeat Row 2 until the desired length is reached. You can try by wrapping it around your head. Do not fasten off and be sure that the starting and ending points look in different directions which means that you need to end up an even number of rows.
ASSEMBLY
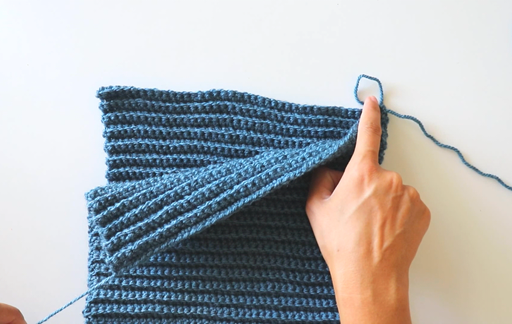
Now, we’re going to fold our hat. Make sure the ribs are going up and down, not side to side.
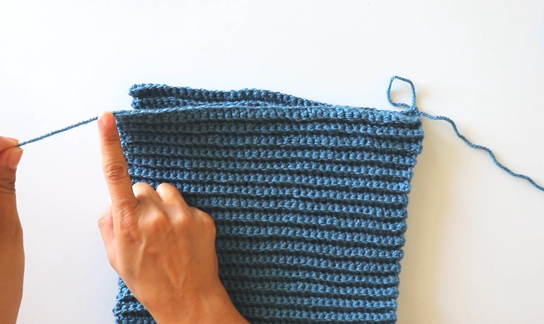
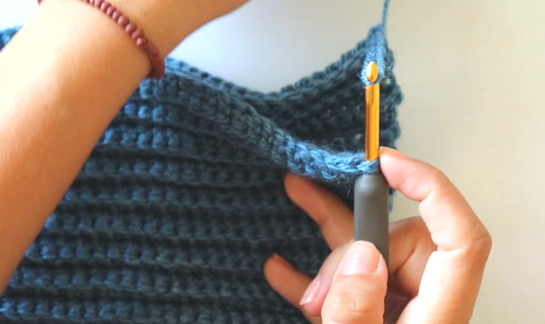
Insert the hook to the both loops of the stitch of the other side of the hat, grap the working yarn and pull it through and make a chain. Insert again into the same loop of the side facing you, and only the back loop of the original row, grap the yarn and then also through the loop on the hook (slip stitch). Keep this into each stitch all the way across. As you work along, you want to make sure that both ends are even. So, hold it even and just keep placing slip stitches until you’re all the way at the end. Leave a tail and fasten off.
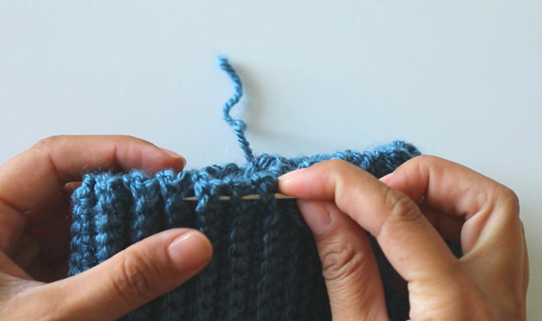
Now, we’re going to sew the tap of the hat. Grab the yarn needle, and sew into each rib of the hat across. Go from one side to the other into that first rib. Then just continue all the way around. Only grabbing at the ribs of the hat, it makes a really smooth closure when the hat is closed. At the end, gently pull the yarn and secure it. Your hat is ready!
Pattern created by Sirin’s Crochet
Written by Ece Bektas (@ecelibuculu)

Copyright: This pattern is copyrighted by Sirin’s Crochet and may not be copied, sold, distributed and claimed as yours. You are more than welcomed to share and sell your makes using this pattern. Please give credit to Sirin’s Crochet.
Please feel free to visit my Youtube channel at Sirin’s Crochet for more free video tutorials and don’t forget to subscribe to be notified for more free patterns.
- Video Tutorial:

I just wanted to thank you for the pattern. It is simple enough that I can do it.